
Guide on Configuring Your FiveM Server
In this article, you'll learn how to configure your FiveM server.
Configuring Your FiveM Server
After connecting to your FiveM server for the first time, you're ready to make the server yours! The basics of getting your server up and running include changing your server's name, editing your server's configuration, generating a Steam API key, adding administration users, setting up txAdmin, and much more. This is a guide on configuring your FiveM server.
Editing Your Server Configuration File
Much of your FiveM server's customization will be based on its configuration file, also known as `server.cfg`. Always download and keep a backup of this file before editing it, as this is the heart of your FiveM server's function. Before editing your FiveM server's configuration file, shut down your FiveM server to avoid issues.
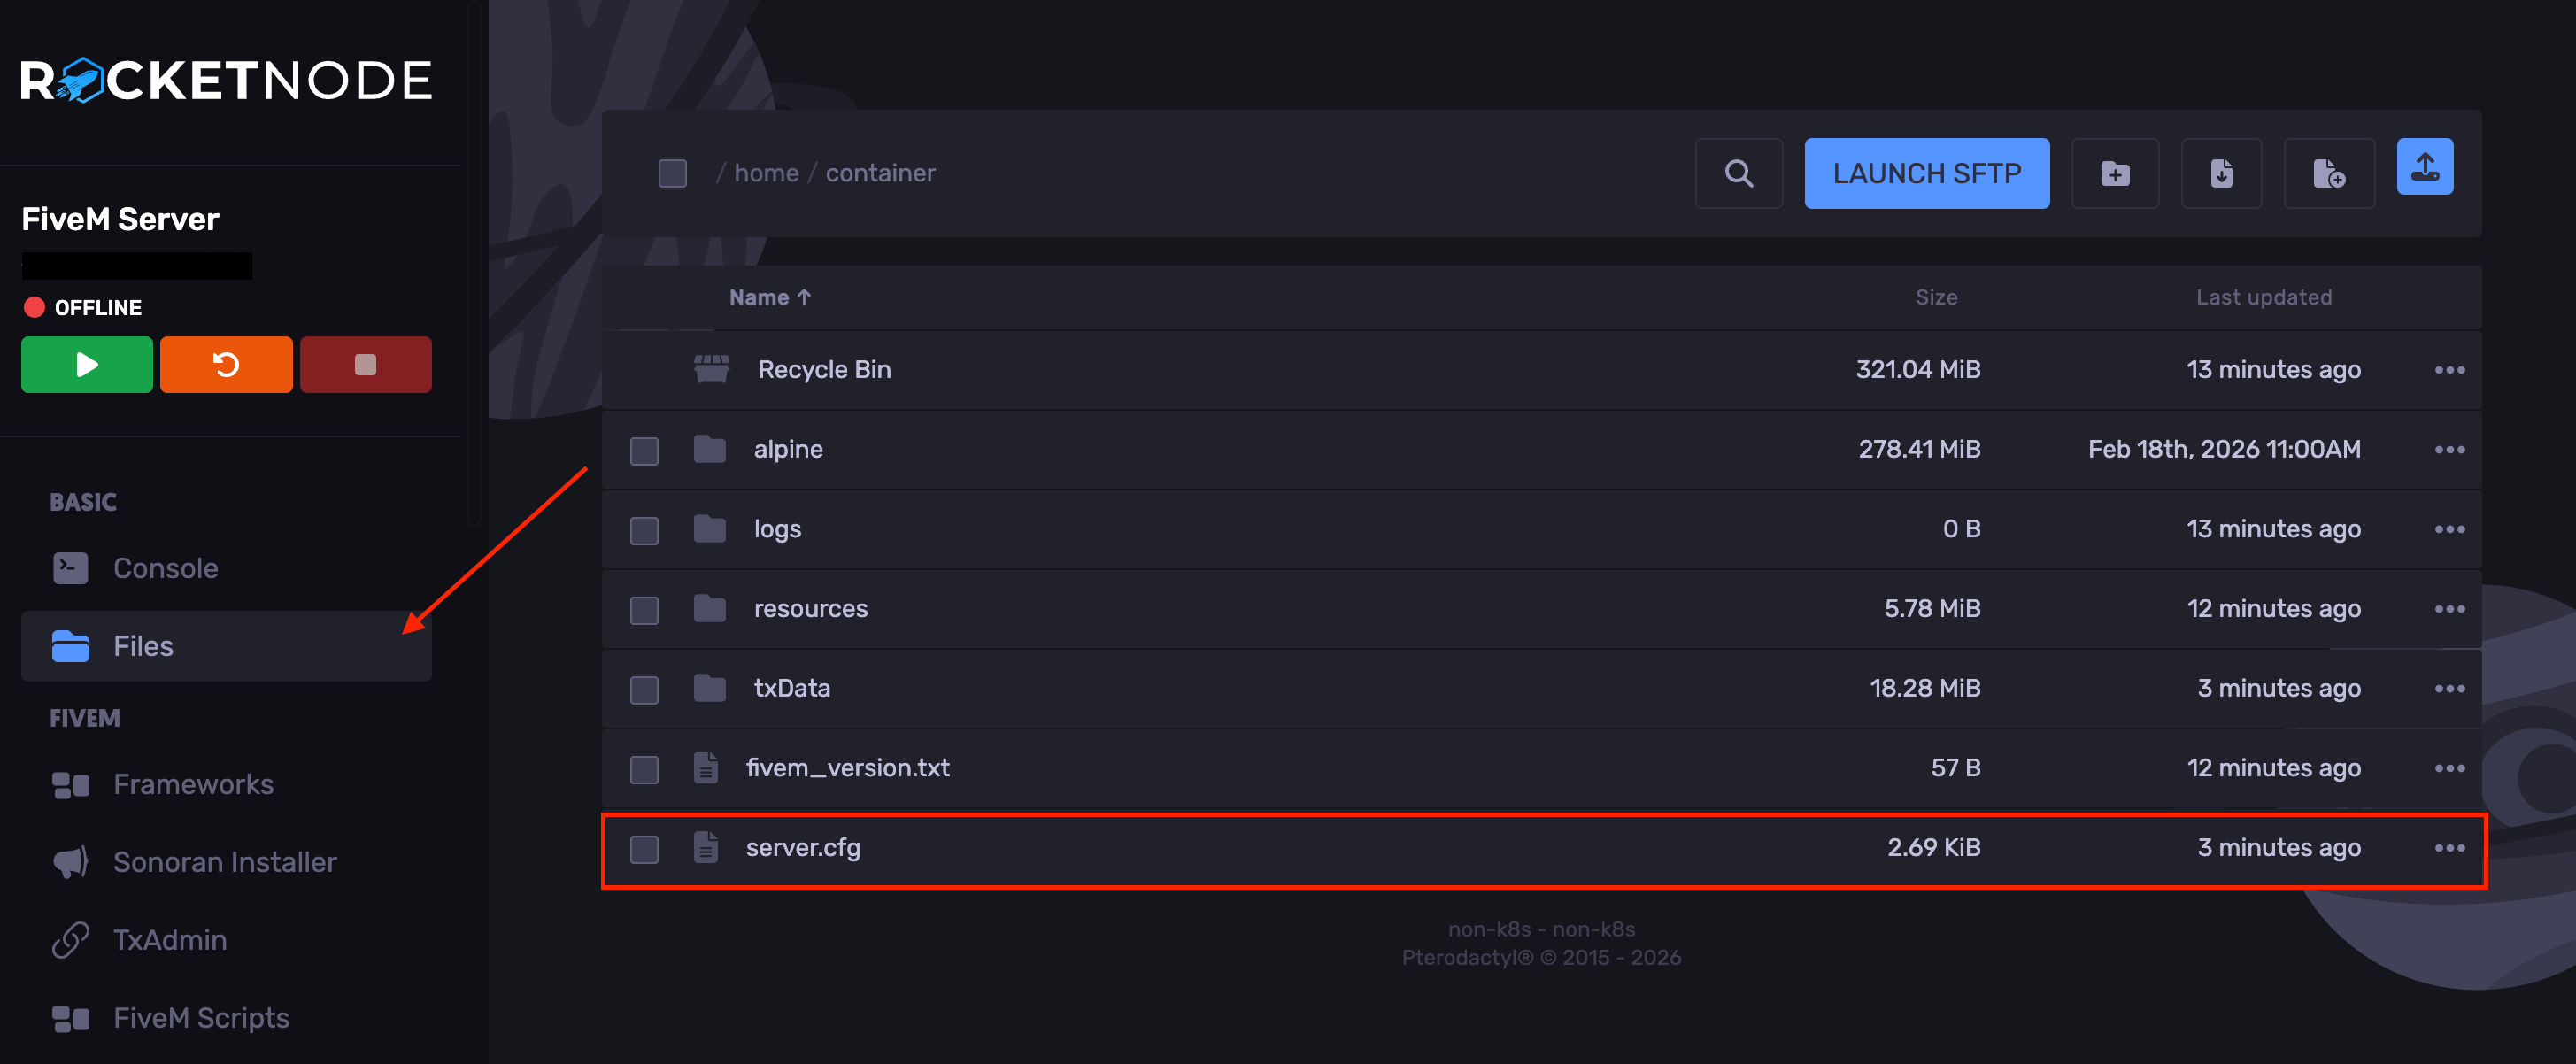
To edit your FiveM server's configuration file, open the RocketNode Panel and navigate to the File Manager tab. Click server.cfg. This will open the server's configuration file, allowing you to further customize your server.
Generating a Steam API Key
You may need to generate a Steam API Key if you're using an economy-based framework for your FiveM server, like ESX or QBCore. Generating a key is pretty simple and takes no more than a few minutes.
-
Log in to the API Key site.
-
Type in your server's name as the domain.
-
Generate the key and copy it.
-
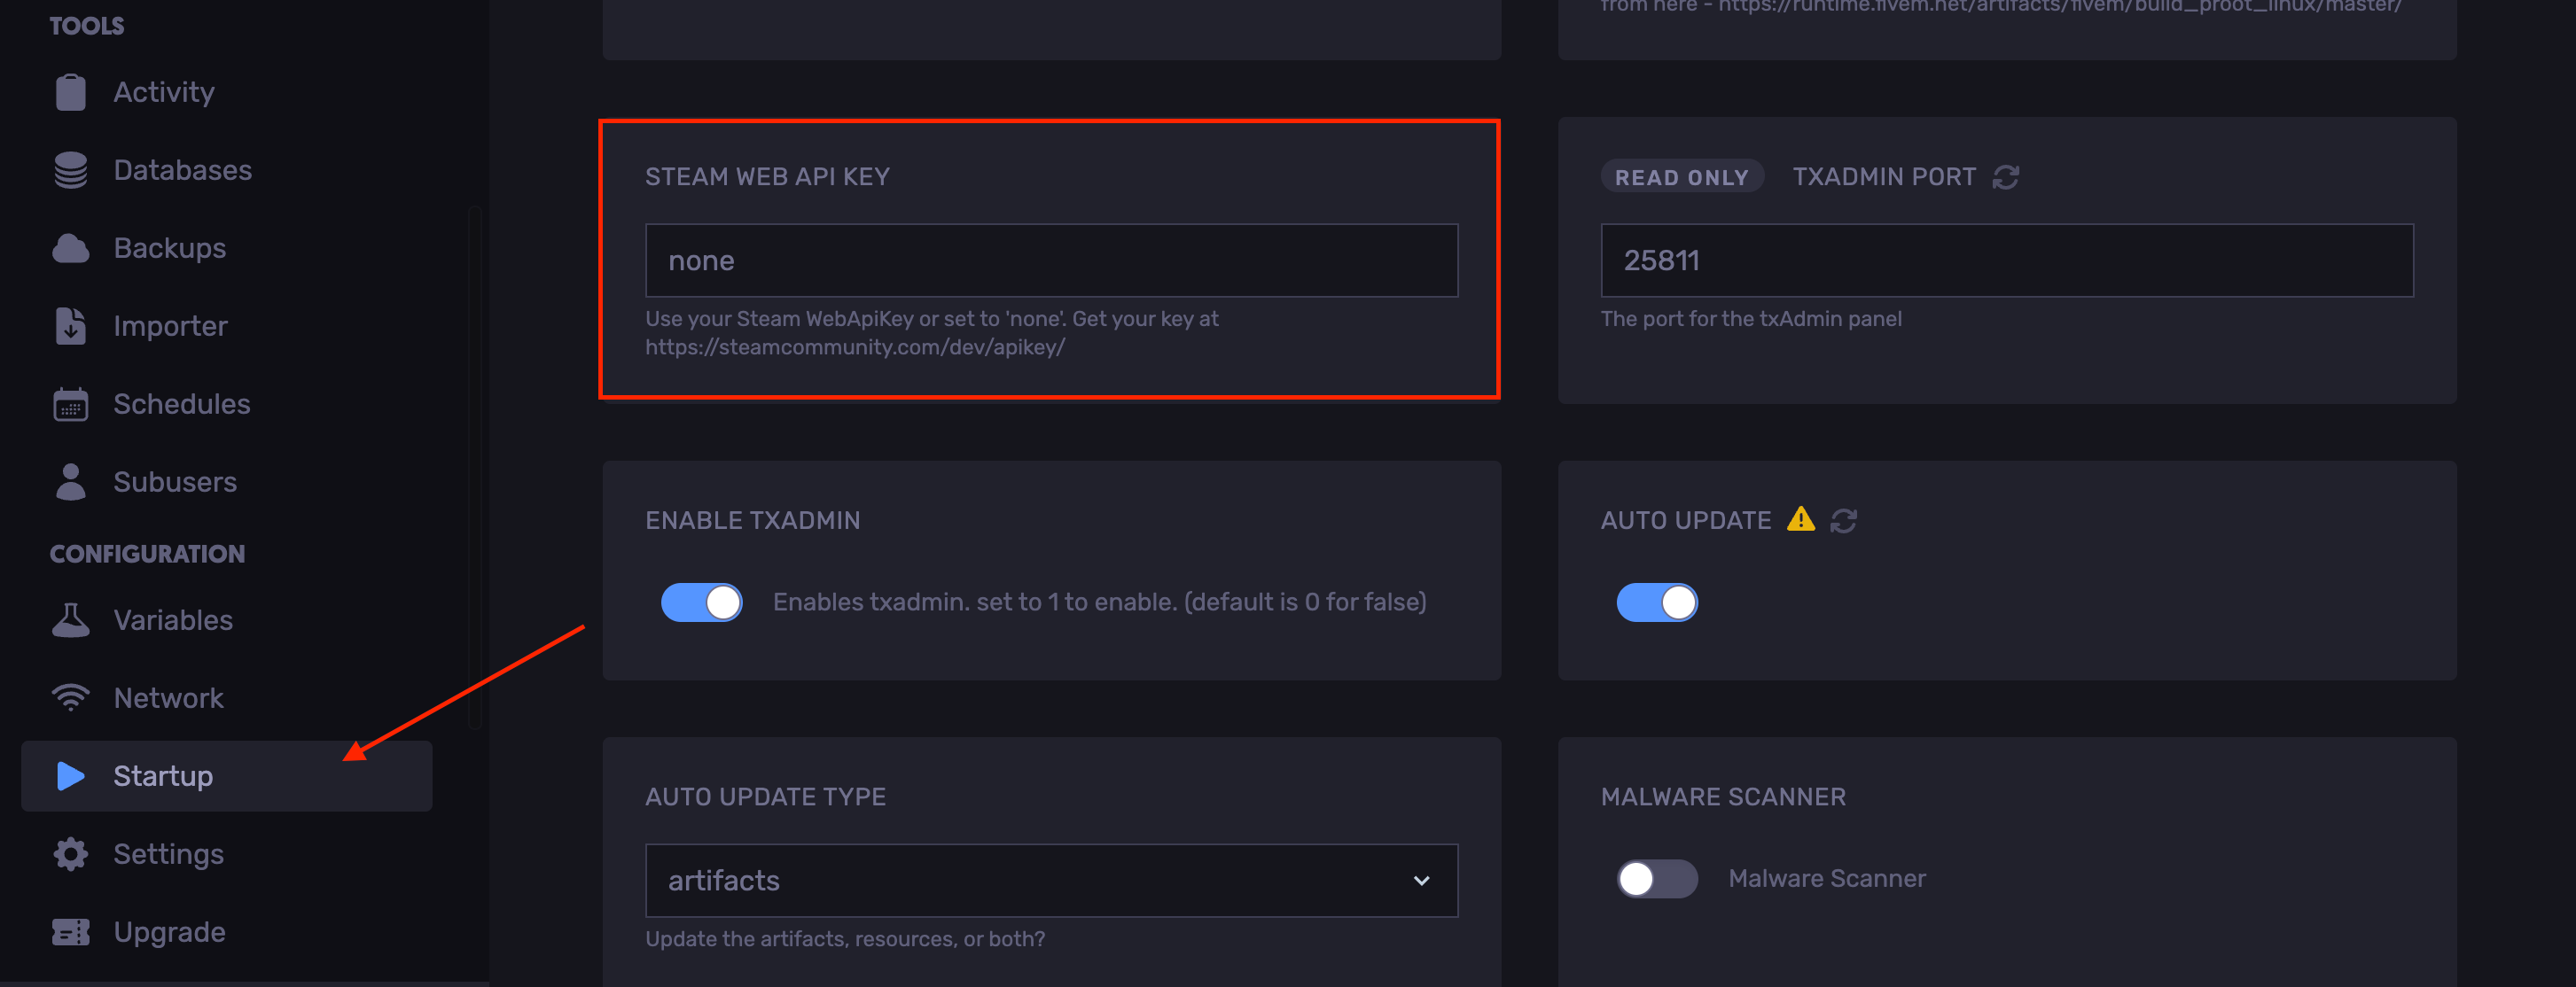
Go to your Server Startup tab in the RocketNode Panel and paste your newly generated key under Steam Web API Key.
Find out more about FiveM server hosting with the help of our Knowledgebase articles that can be found here. For any questions please contact the support team via Discord or on-site Tickets.
