DayZless than a minute read
How to Install Mods on your DayZ Server
Learn how to make your server unique by installing custom mods.

Installing mods on your DayZ server is the best way to set it apart, giving players a unique experience they can't find anywhere else. Choosing the right mods for your server is the factor that will make players either play or not play on your server.
Install Workshop Mods
Ensure that Auto Update Mods is enabled in the Startup tab.
-
Open the RocketNode Panel.
-
Stop the server.
-
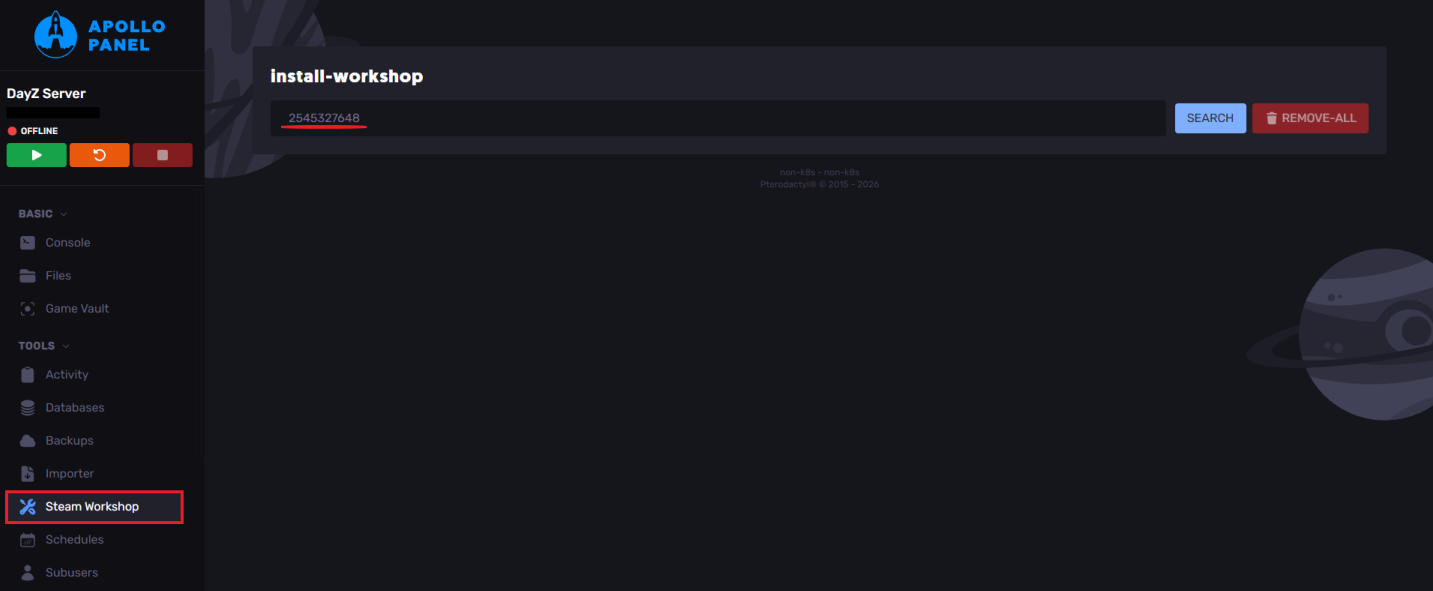
Head over to the Steam Workshop tab.
-
Enter the workshop ID.
-
Click Search.
-
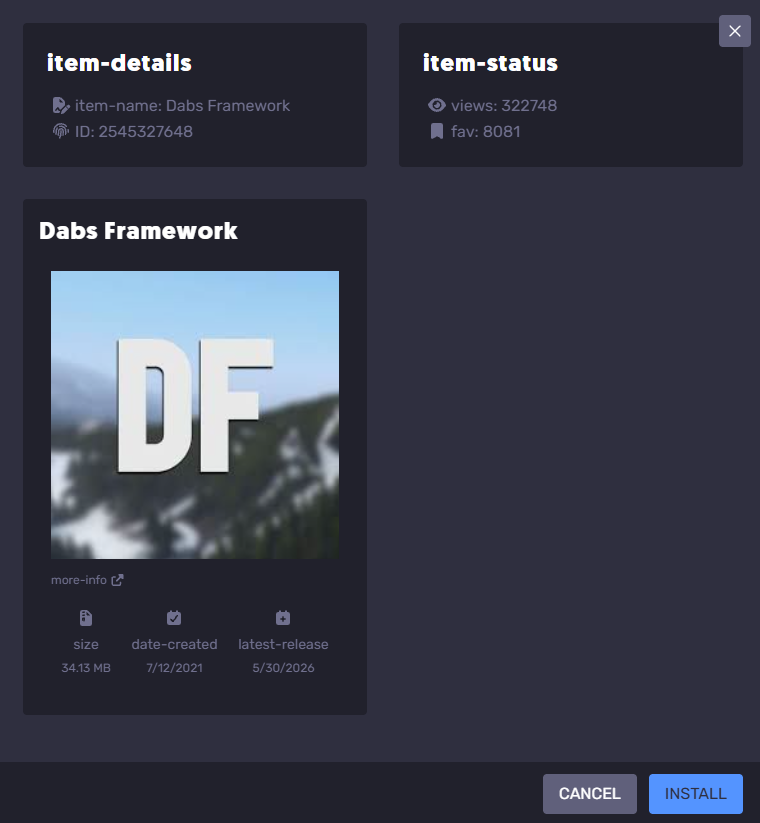
Hit Install.
-
Start the server, and the mod will be installed.
Install Custom Mods
This is for mods that aren't on the Steam Workshop.
-
Open the RocketNode Panel.
-
Stop the server.
-
Head over to the Files tab.
-
Upload the mod's folder, which should be named `@modname` in lowercase, with no spaces, starting with `@`.
-
After uploading, go to the Startup tab.
-
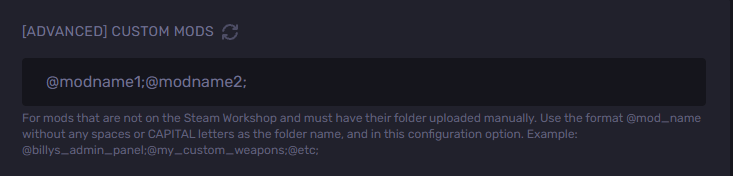
Locate the [Advanced] Custom Mods field.
-
Add the mod's folder name.
-
Start the server.
Find out more about DayZ server hosting with the help of our Knowledgebase articles that can be found here.
For any questions please contact the support team via Discord or on-site Tickets.