
How To Make A Rust Server
Introduction to Rust servers
Rust is a popular survival game that had a unique concept in the gaming industry, and they've made it a successful game in the end. In the beginning, Rust was nowhere close to what it is today. However, playing Rust on public servers can be a bit challenging for new players, considering the number of players, hackers, and server lags on Facepunch official servers. The best solution to enjoy a seamless Rust gaming experience as a player is by playing on a private server. In this guide, you'll be taken through the process of creating and managing your own Rust server.
Preparing to Order Your Rust Server
Firstly, when thinking about opening your Rust server a very crucial step consists in deciding what hosting plan you'll need to own based on your expected player count, as that might come pretty load heavy on the server. On another note, using something like uMod is crucial for having plugins on your server to keep players engaged which requires additional server power to have a smooth experience. If you need help deciding on what type of hosting you should pick never hesitate to open a ticket to our support team available to you at any point.
Secondly, a stable and continuous internet connection is essential to your community to have non-stop gameplay available to your players 24/7 every day of the year. Our unlimited bandwidth also plays a huge role in having no lag on your server as a slow and unstable connection can ruin everything on your server.
Why should I pick RocketNode to host my Rust server?
- Unlimited bandwidth with high-speed connections for a seamless experience for your players
- 99.9% Uptime guarantee
- Industry-grade server equipment ready for your server's needs
- DDoS (Distributed Denial-of-Service) attacks prevention and mitigation using our own DDoS Protection service
- 24/7 Support ready to help you on your journey
Getting Started
After making sure you're all ready to start working on your server you will have to complete some basic and necessary tasks to make sure your server will have a strong base that you can expand on with your personal needs.
Installing Oxide
Oxide is a modding platform for a Rust server intended to be used along with plugins that can help you moderate and modify gameplay to your liking. There are two ways to go on about this:
I. Automatic installation - This requires you to toggle a single button to have Oxide installed and auto-updated
II. Manual installation - A longer alternative to the automatic installation but it is helpful if at any point you need a reinstallation of Oxide
Automatic Installation
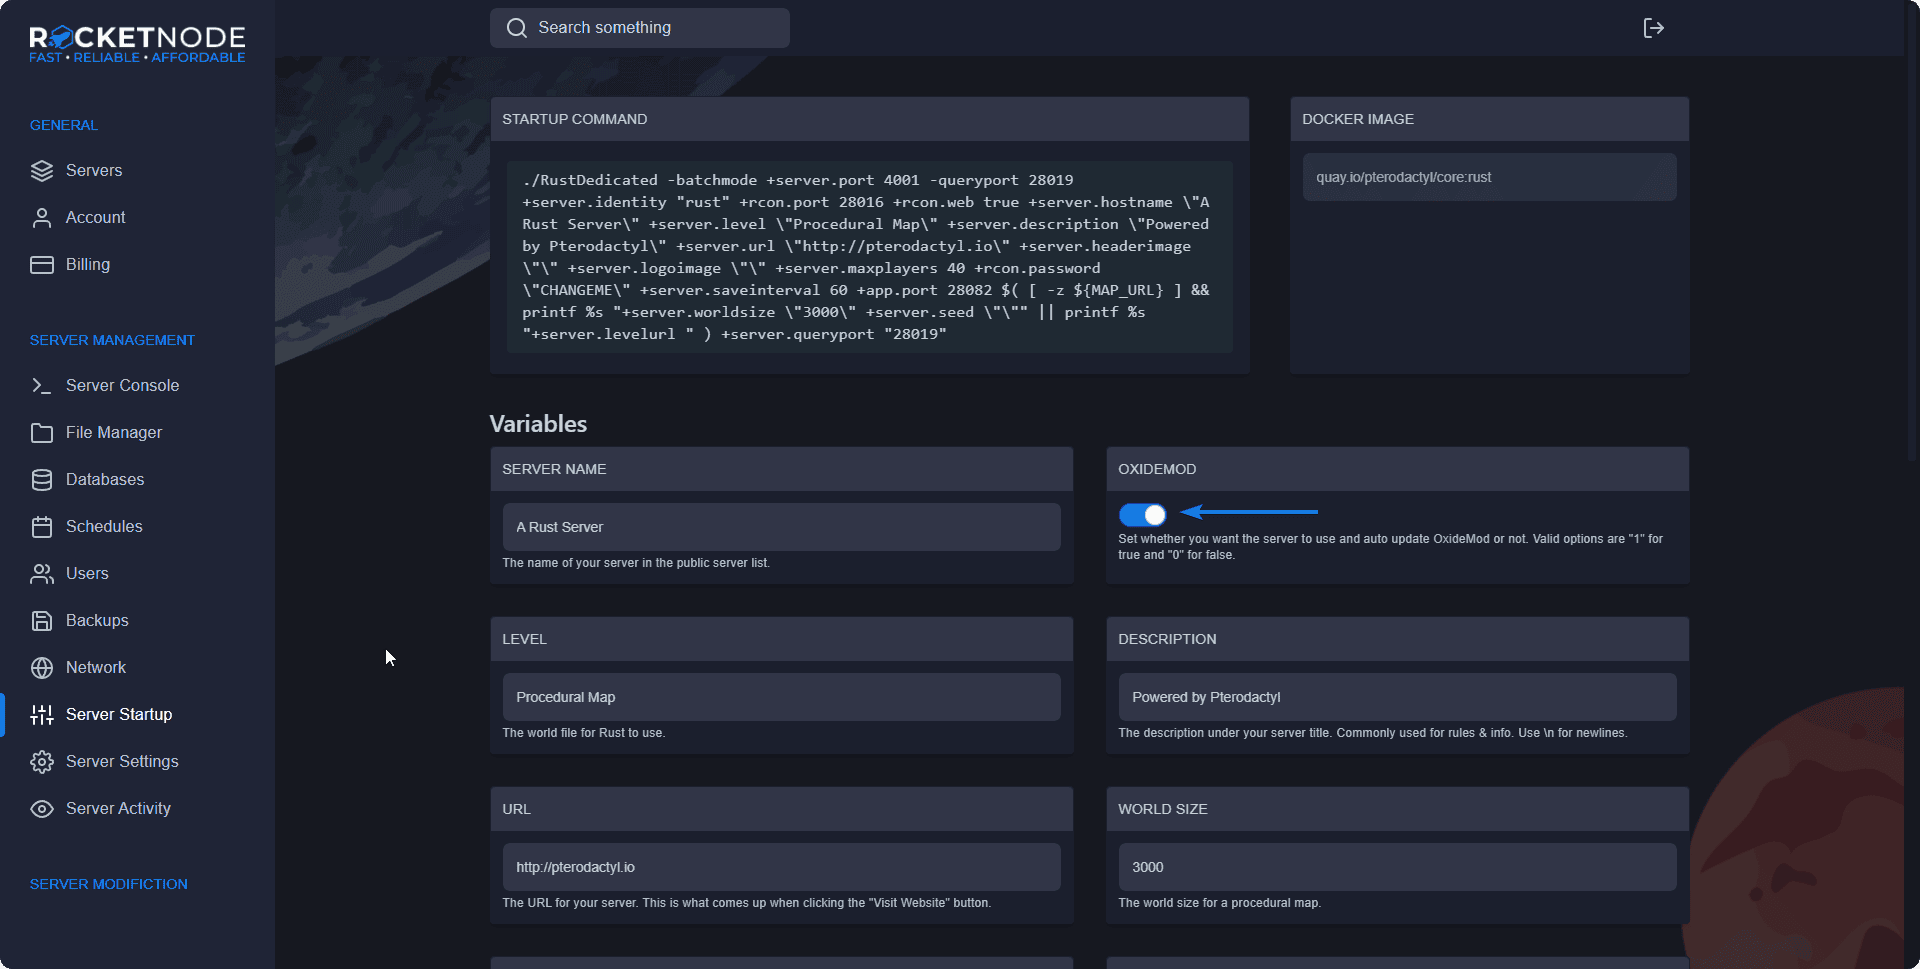
Thanks to the technology of our panel installing Oxide has never been easier! First of all, you'll have to navigate to your server first located on the main page of the panel. Next, navigate to the Server Startup link and toggle the OXIDEMOD container so it is ON as in the picture attached below.
Manual Installation
First of all, you'll have to go over to the official uMod releases page and download the latest Linux version.
- Navigate over to your server in your Servers tab.
- Click on "File Manager".
- Upload the .zip archive you've just downloaded from the release page by clicking the Upload button and selecting the file from your computer or just by dragging it into the server's files.
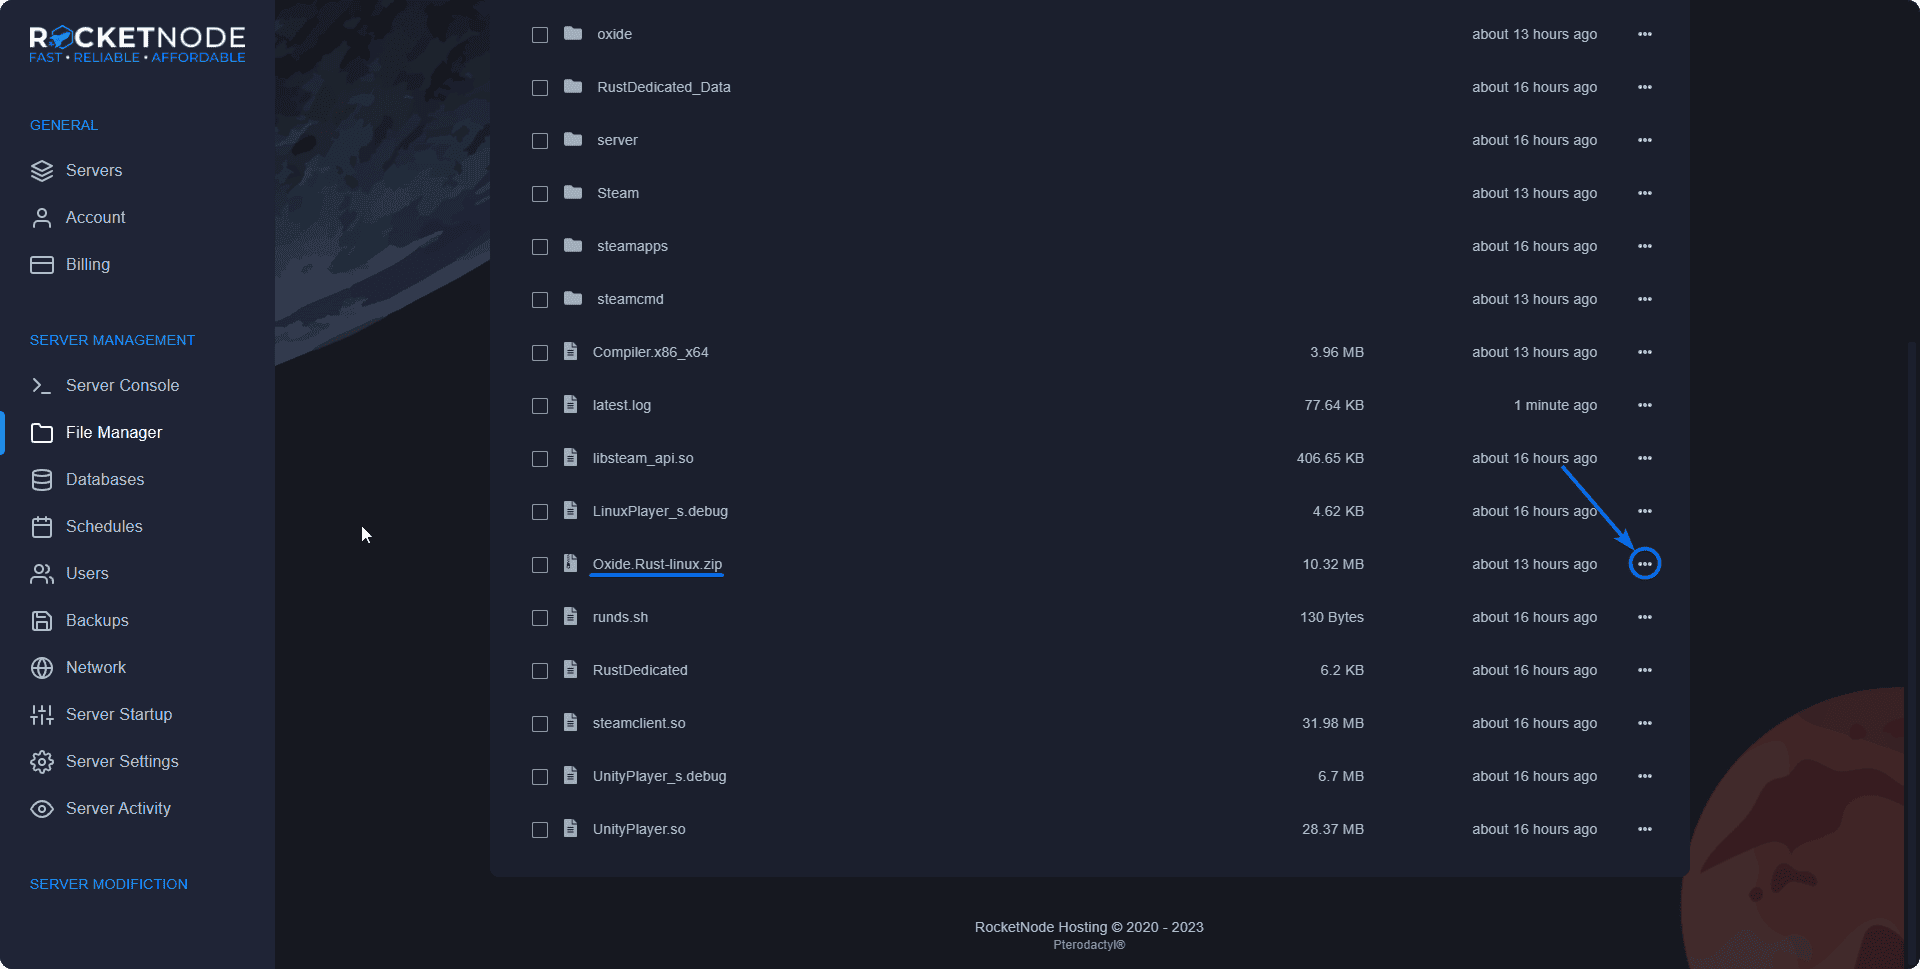
- Once the archive is done uploading search for it in your File Manager (its name should be something similar to "Oxide.Rust-linux.zip") and click on the three dots on the far right of your file and click Unarchive.
After your archive is done extracting you'll need to restart your server so Oxide can install all of its dependencies. After your server is done restarting and your server status is marked as "Online" you can type oxide.version to check if Oxide has been correctly installed on your server. If the installation is successful the console output should be something like this:

Getting on Your Rust Server
Once you've finished with all the steps above, you are ready to join your fully functional Rust server with Oxide installed.
To get your server's IP address, head over to the RocketNode Panel and view your Rust server console. Your IP will be in the top box near your server's name.

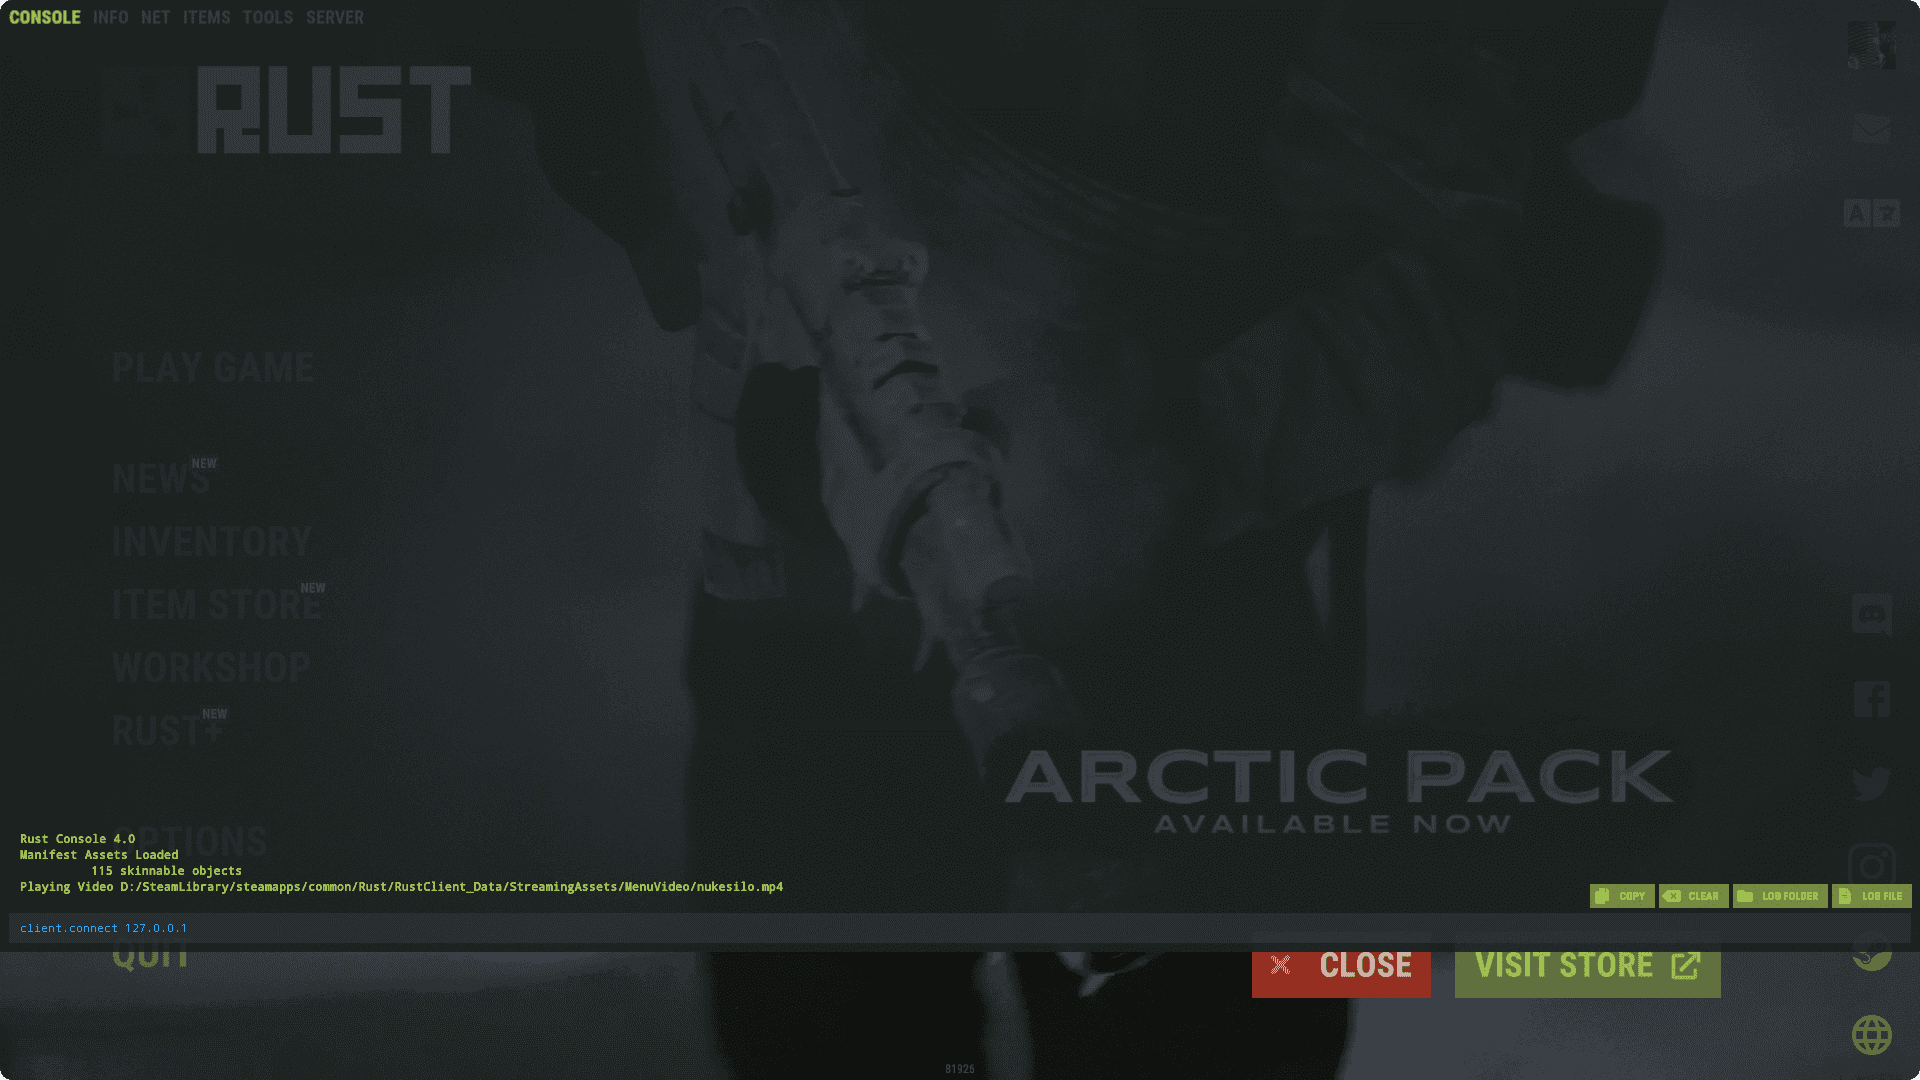
You can join your Rust server by opening your Rust game and pressing F1. Type client.connect (your server ip) followed by ENTER to join the server.
Once you've connected to your server you are ready to customize it to your liking! The absolute minimum of getting your server up and running includes changing your server's name and changing the description with a more adequate one which will offer more information about the gameplay your server has to offer.
Editing Server Configuration
Most of your Rust configuration related to your server environment such as name, description, active map, player count, and more can be modified directly from our panel without the hassle of going through commands and manually searching for every modification that you can do. To get there you'll have to go to your Server Startup link located on the left side.
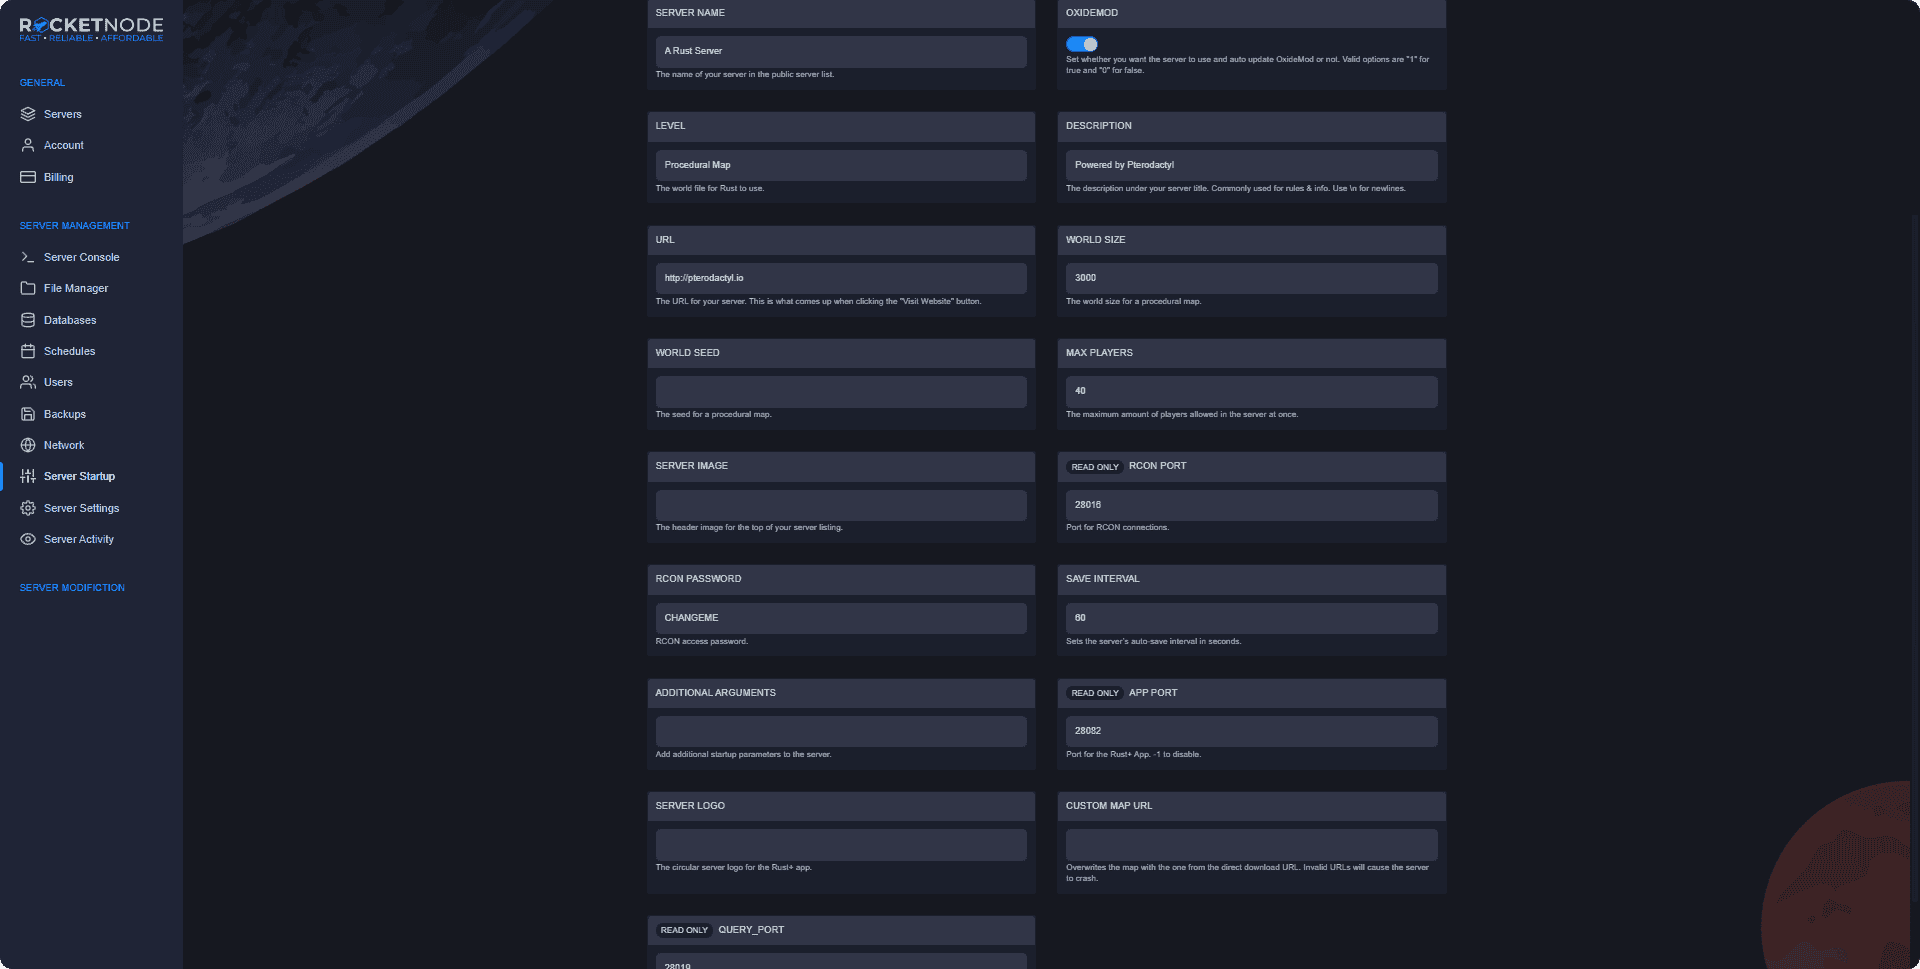
Server Configuration Explained
Every server variable from the configuration page under Server Startup is configurable to your liking which we'll cover in just a second. Configuration is important to give your server a unique feel and stand out from other servers from the first moment a player sees it.
-
Server Name - This is your public server name that your players will see when searching for it in the server list.
-
Level - This is just the name for your map, for most server owners this will need to be left unchanged.
-
Description - It is pretty self-explanatory, this is an option to set your server's description.
-
URL - Used to set the link when a player clicks on VIEW WEBPAGE in the Rust server list.
-
World Size - This is the size of your world, this can affect heavily on your server as it requires a more powerful server for a larger map so be careful with this setting.
-
World Seed - Related to the previous setting this option changes how your map looks, structures, etc. You can check this website for a list of Rust map seeds to pick the one you like most.
-
Max Players - Sets the max players that can be online on your server at the same time.
-
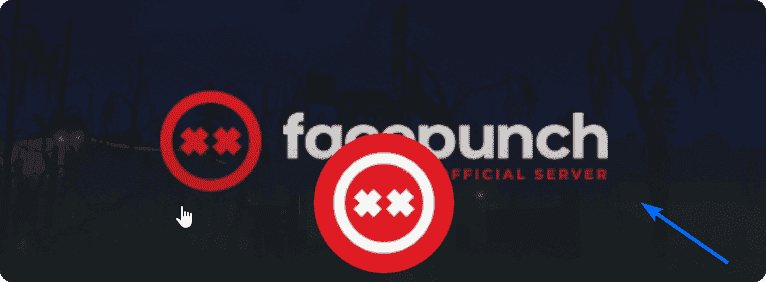
Server Image - The header image showed in the server list for your server as in the screenshot below.
-
RCON Password - This is one of the most important settings which should be changed as soon as possible as this gives complete control over your server. This is also critical to you as a server owner as it can be used with something like RustAdmin to control your server without being connected to it.
-
Save Interval - Sets the server’s auto-save interval in seconds.
-
Additional Arguments - You can add additional startup parameters to the server in case you need something like
-silent-crashesadded to your server's settings.
Giving Yourself Admin
Adding admins to your server is crucial so you can moderate your server and test features before you push them to the public.
- Go to your server console on the RocketNode Panel.
- Navigate to steamid.io and input your Steam profile link to find out your steamID64 and copy it.
- Execute the following command
oxide.usergroup add [your steamid64] admin.
That's it! Upon joining your server you should have all of the default admin permissions to manage your server.
Permissions are an important topic for your server as it gives or revokes access to specific commands or events for your player base. This is a complex topic that we might cover in a future guide to help you out with them.
Installing Your First Plugin
Installing plugins for Rust is a simple and quick process with little knowledge required to do. We'll guide you with a step-by-step process to make sure you'll be doing it the right way so you don't encounter any errors. Plugins help make your server a lot more unique and keep players engaged so you can keep them on for as long as possible.
- Head over to the uMod official page
- Find a plugin you like! For this guide we'll be using Vanish as an example.
- Go back to the RocketNode Panel.
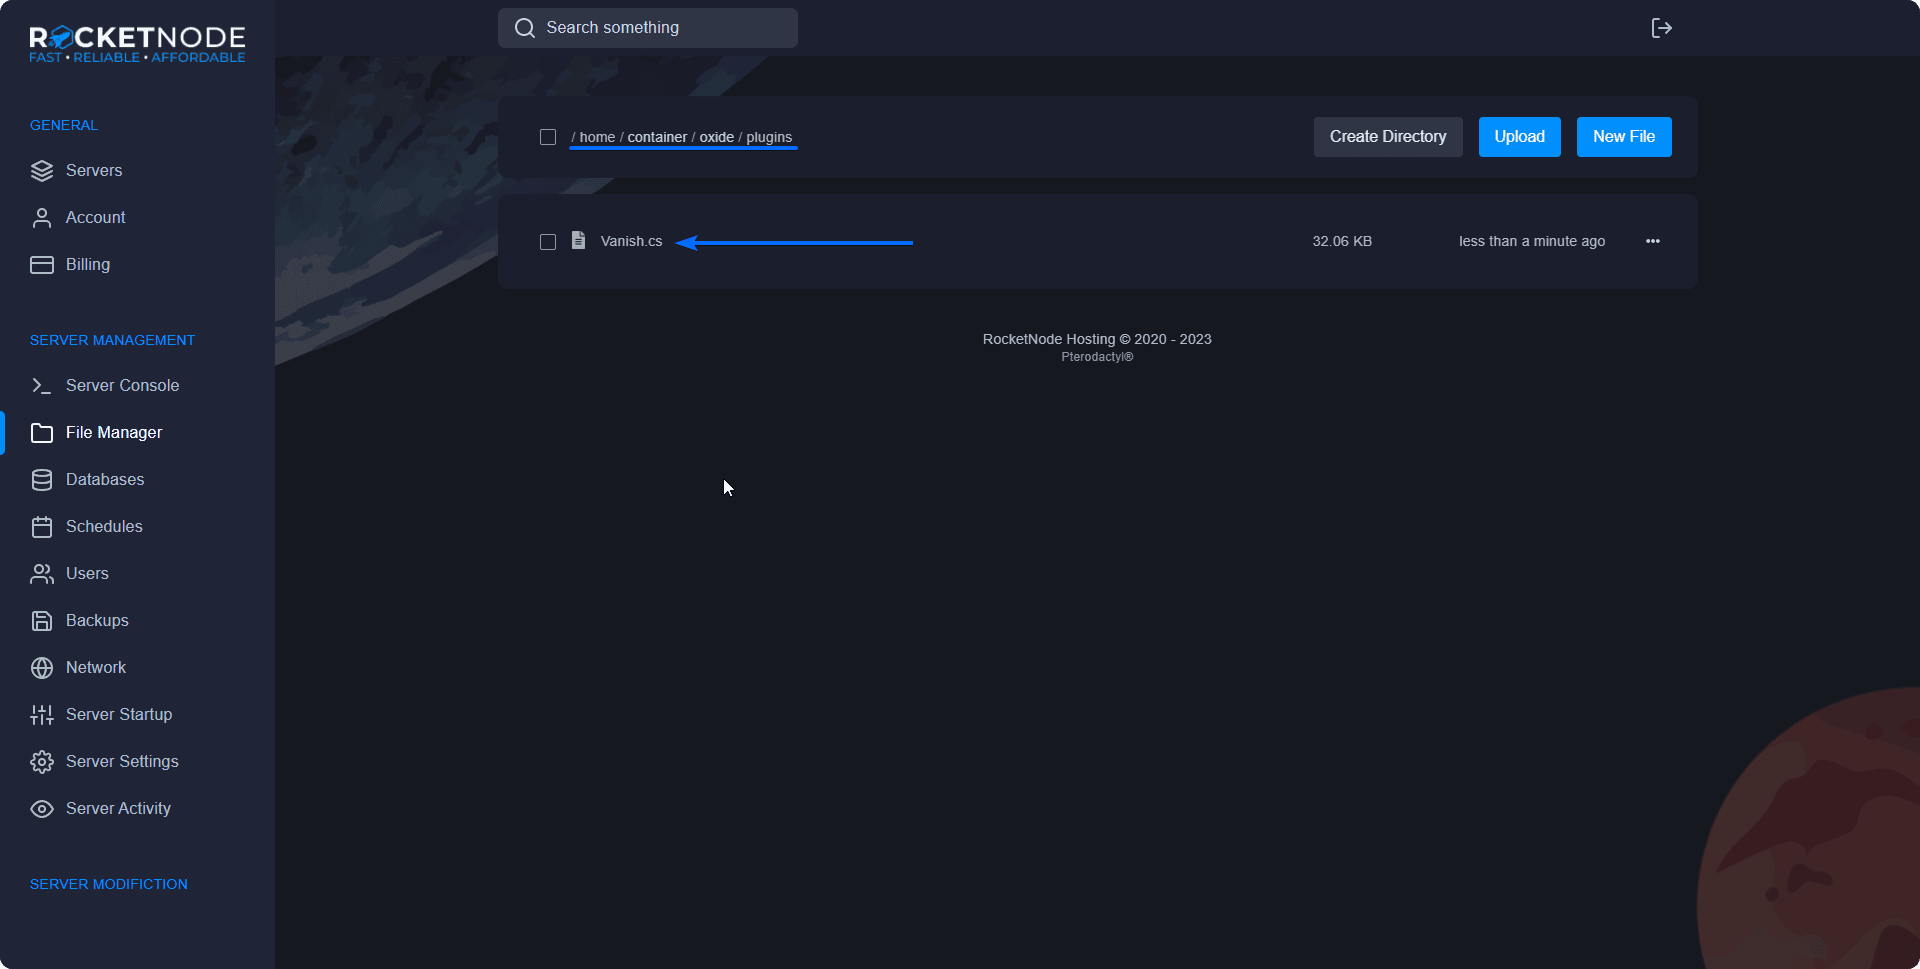
- Navigate over to the File Manager section.
- Go to the following file path:
home / container / oxide / plugins. - Upload the plugin you've just downloaded (make sure it is in the .cs file format). The folder should be empty if you haven't installed any plugins previously so don't worry about that.
Reinstall Server
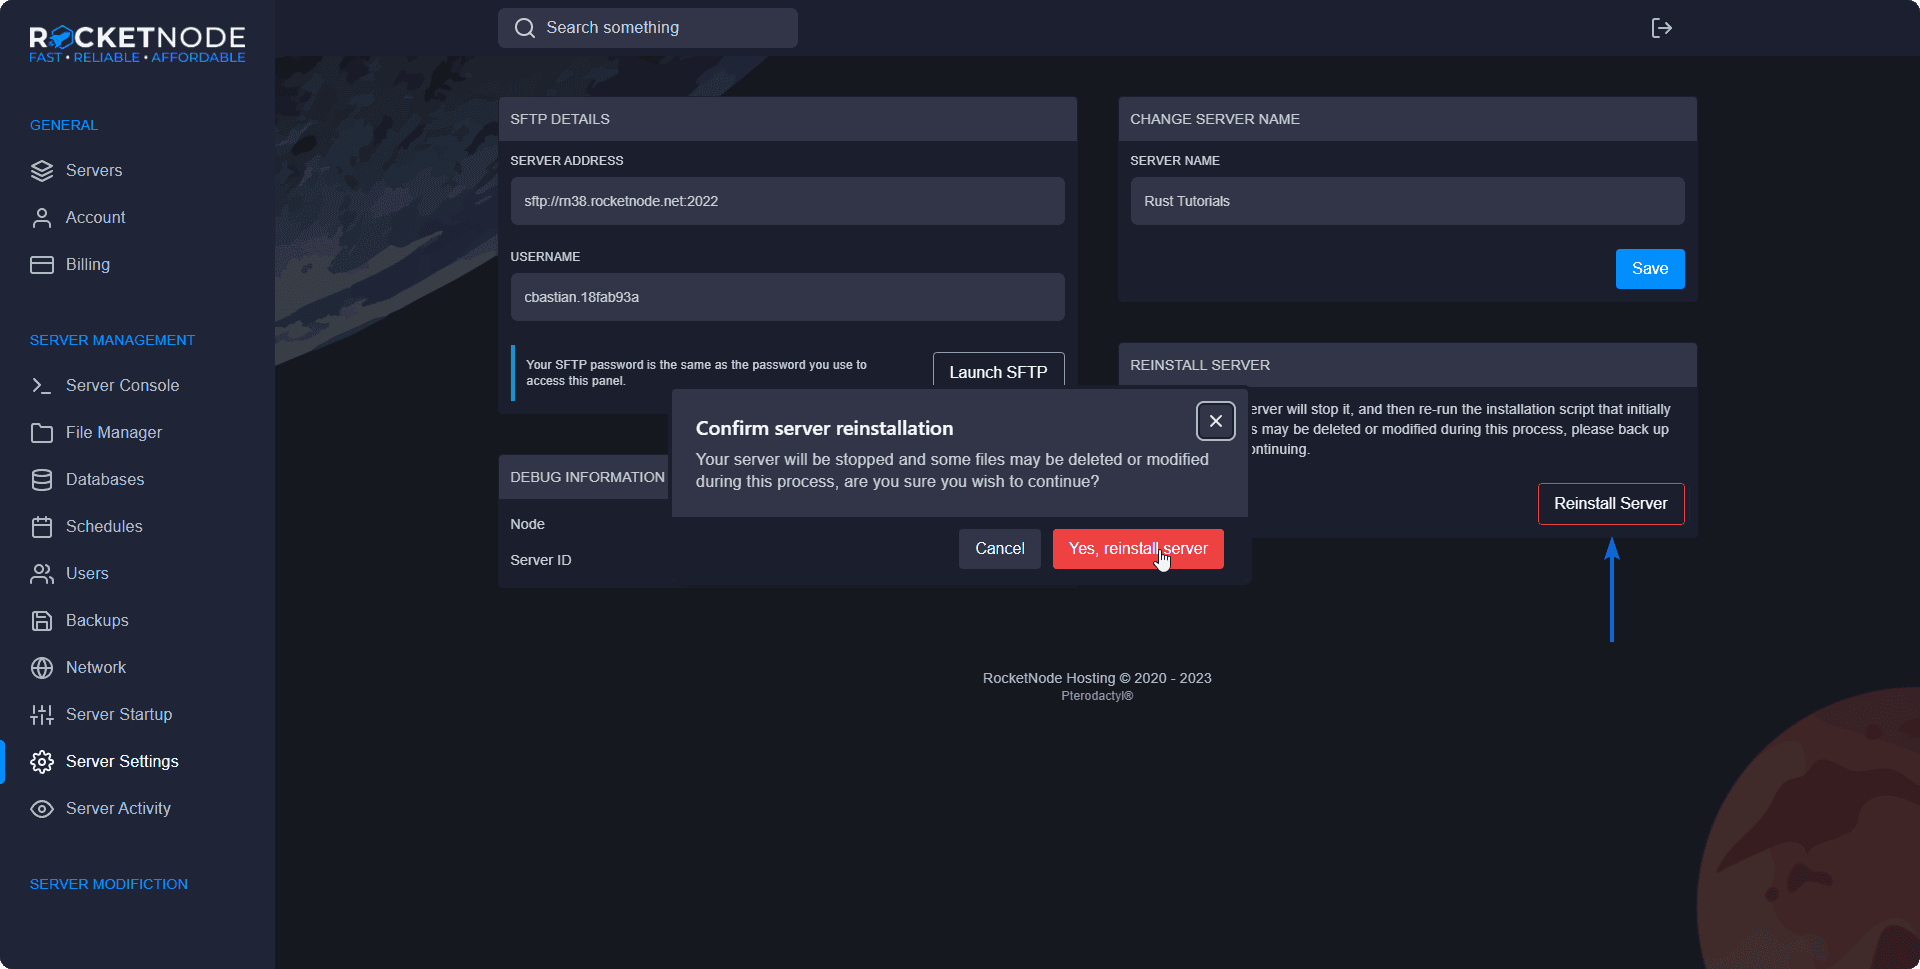
Reinstalling your server might be necessary at any point if you need a fresh start on your files or simply something isn't working, however, be careful as this setting can remove your files and you might lose the progress made on your server.
- Head over to the RocketNode Panel.
- Open the Server Settings link of the Panel.
- Press the Reinstall Server button.
- Press the Yes, reinstall server button once you are sure you would like to continue.
- Your server will now reinstall to its original state.
Creating Server Backups
Data backups are essentially duplicates of important files or information that are stored in a separate location from the original data. By creating and regularly updating backups, you can ensure that in the event of a disaster, you will still have access to your important files and data.
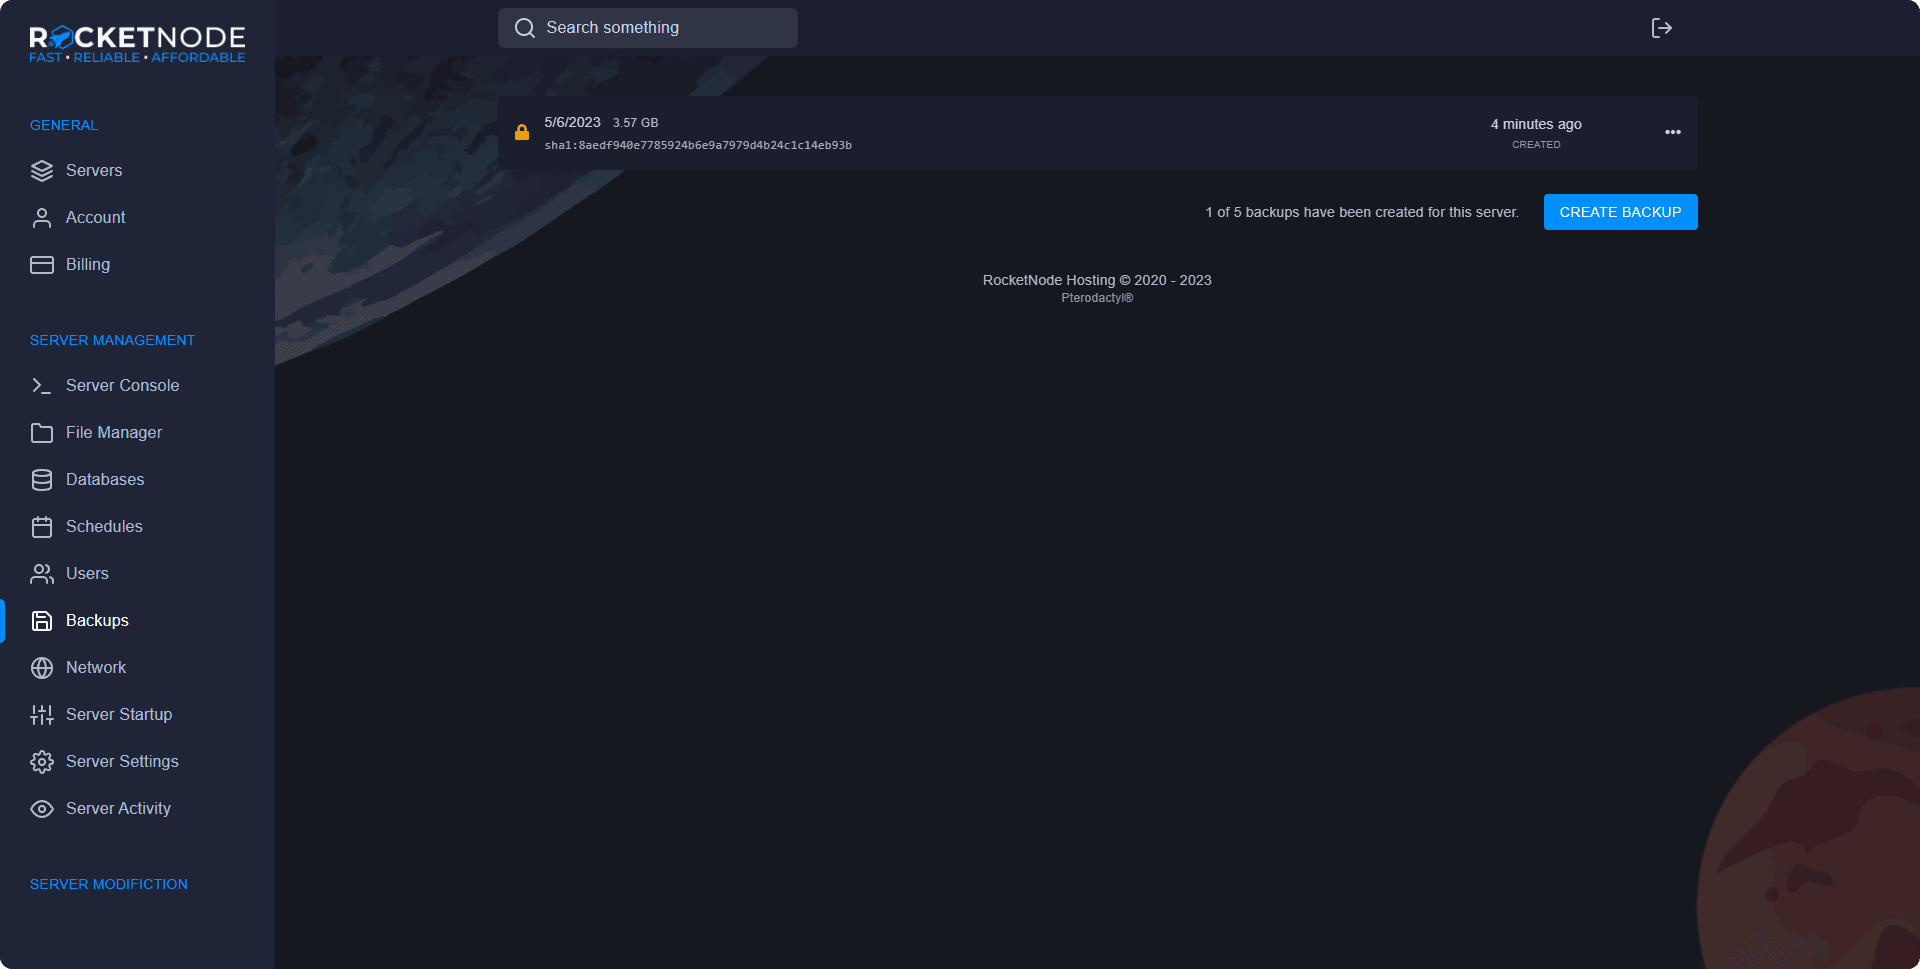
Creating a backup is simple:
- Head over to the RocketNode Panel.
- Open the Backups section of the Panel.
- Press the Create Backup button.
- Give the backup a name usually marking the date you've made it so you can figure out what backup to use in case something bad happens.
- You can leave the Ignored Files & Directories blank unless there is a file you don't want to include in the backup.
- You can select the Locked option, to prevent accidental deletion of your backup.
- Press the Start Backup button.
In conclusion, setting up your own Rust server can be a rewarding and enjoyable experience, allowing you to create a customized gaming experience for yourself and your friends. By following the steps outlined in this article, you can have your own server up and running in no time. Remember to carefully consider your server hosting options and to regularly back up your data to avoid any potential data loss.
