

How to Setup A FiveM Server Guide
With the growing number of FiveM players worldwide, you may be considering starting your own FiveM server for you and your friends, or you may have years of experience in running your own FiveM server! In this blog, we will be going over the basics of a FiveM server, and what you should know about hosting one.
What is FiveM?
FiveM started as a small project with a simple end result in mind, to allow players to play Grand Theft Auto V online with customization. At first, it was called Five Reborn, but later was renamed FiveM, with the M meaning modification. FiveM allows players to create and join player-built multiplayer servers and have a complete custom experience, with the ability to tailor the server to your specific interests and preferences, such as, custom vehicles, custom buildings, and custom clothing. FiveM allows users to create their own private servers with custom rules, mods, and game modes, and it has gained popularity among the GTA V community as a way to experience an alternate reality, in a way of their choosing. Majority of FiveM servers are based on roleplaying, where players assume different roles and interact with other players in a virtual world. Many servers allow players to roleplay as law enforcement, paramedics, and firefighters. While other players choose to play as a civilian in the server's city.
How do I get started with my own server?
Some people have there own wants and needs when it comes to a FiveM server, and may just want to start a server, allowing them to make it their own. Well, that is completely possible, and RocketNode has spent a lot of time developing a panel that makes running your own server easy and efficient. With leading prices, RocketNode has also made it easier than ever to start a server with a budget in mind, on industry-leading equipment. Starting out, some people decide to host their server on their home computer, which is highly advised against in the FiveM community. A lot of FiveM server owners rely on server hosting to get their server online, fast and easy.
Why should I host my FiveM server with RocketNode?
- Low latency and high-speed uplinks.
- Uptime guarantee.
- Enterprise grade server equipment.
- DDoS (Distributed Denial-of-Service) attacks prevention and mitigation.
Getting Started
Once you have decided that you are ready to begin the journey of owning your own FiveM server, you will need to complete an important part of the server configuration, a FiveM license key. This gets your server authenticated with FiveM, and make it joinable by your friends and other players.
- Head over to the FiveM Keymaster.
- Click "Register".
- Enter your server's information, such as your server's name and IP address. You can find this in your RocketNode Panel
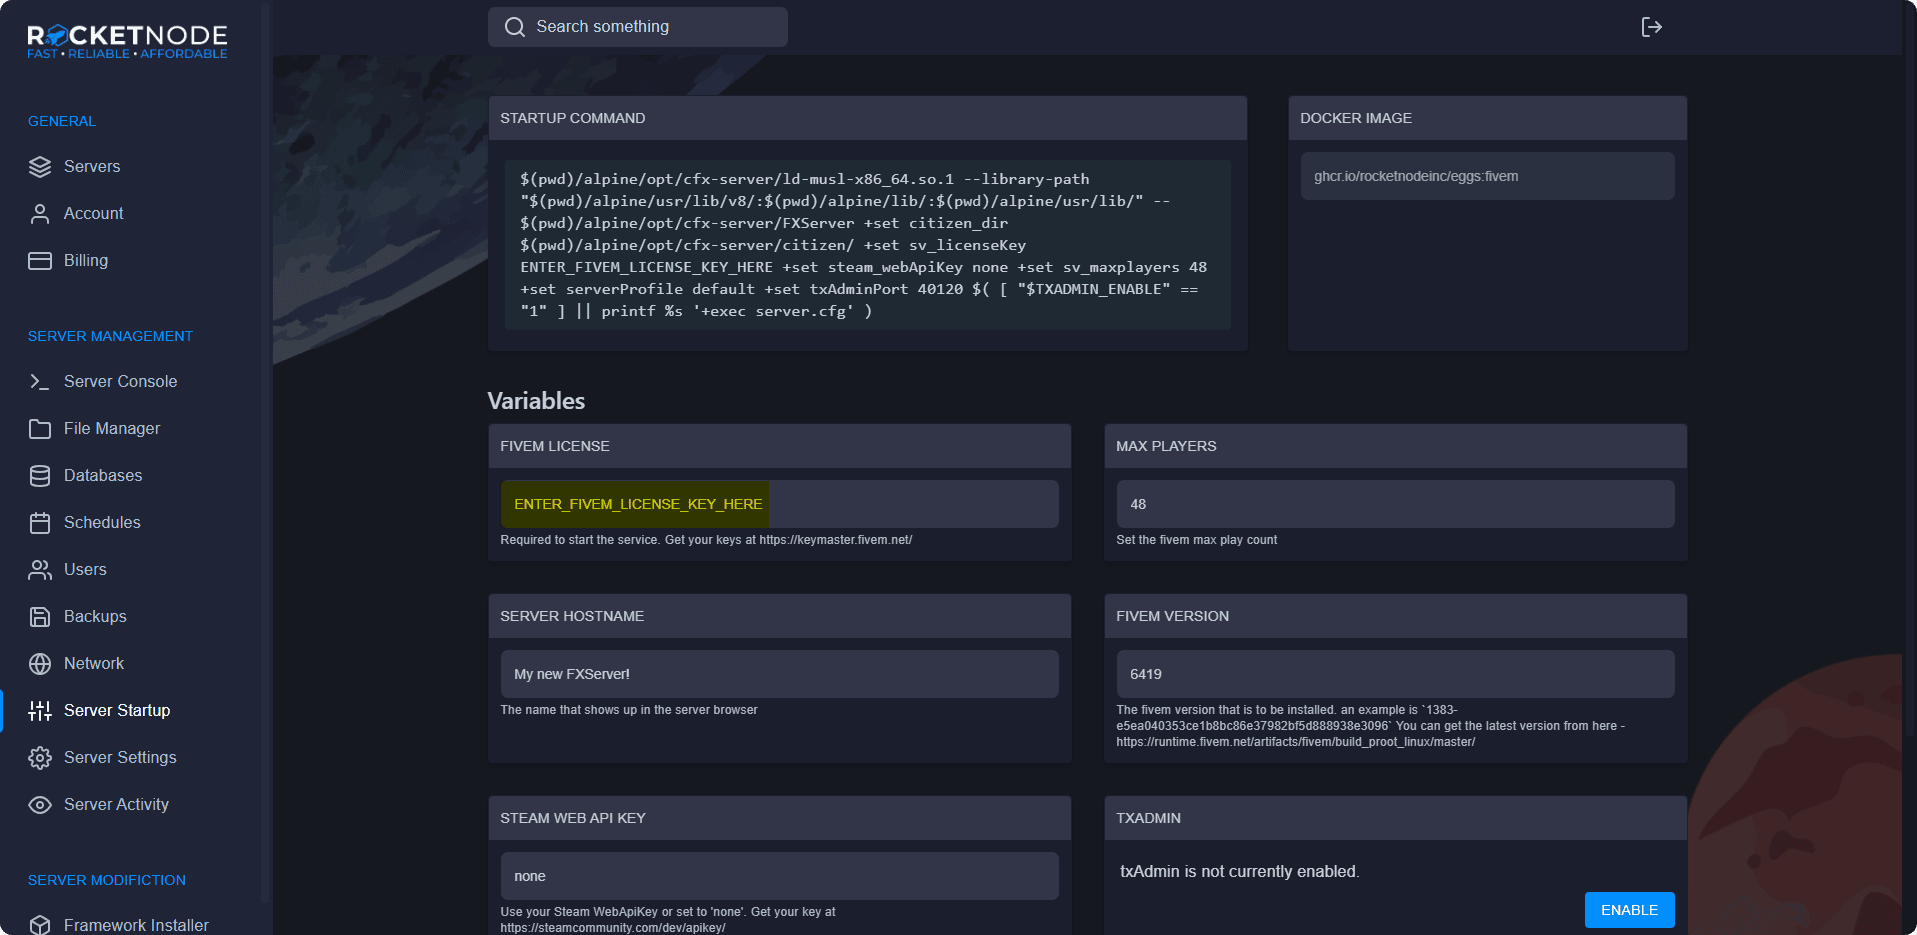
- Generate your license key, and paste it into the Server Startup section of the panel, under the FiveM license variable.
Connecting to the FiveM Server
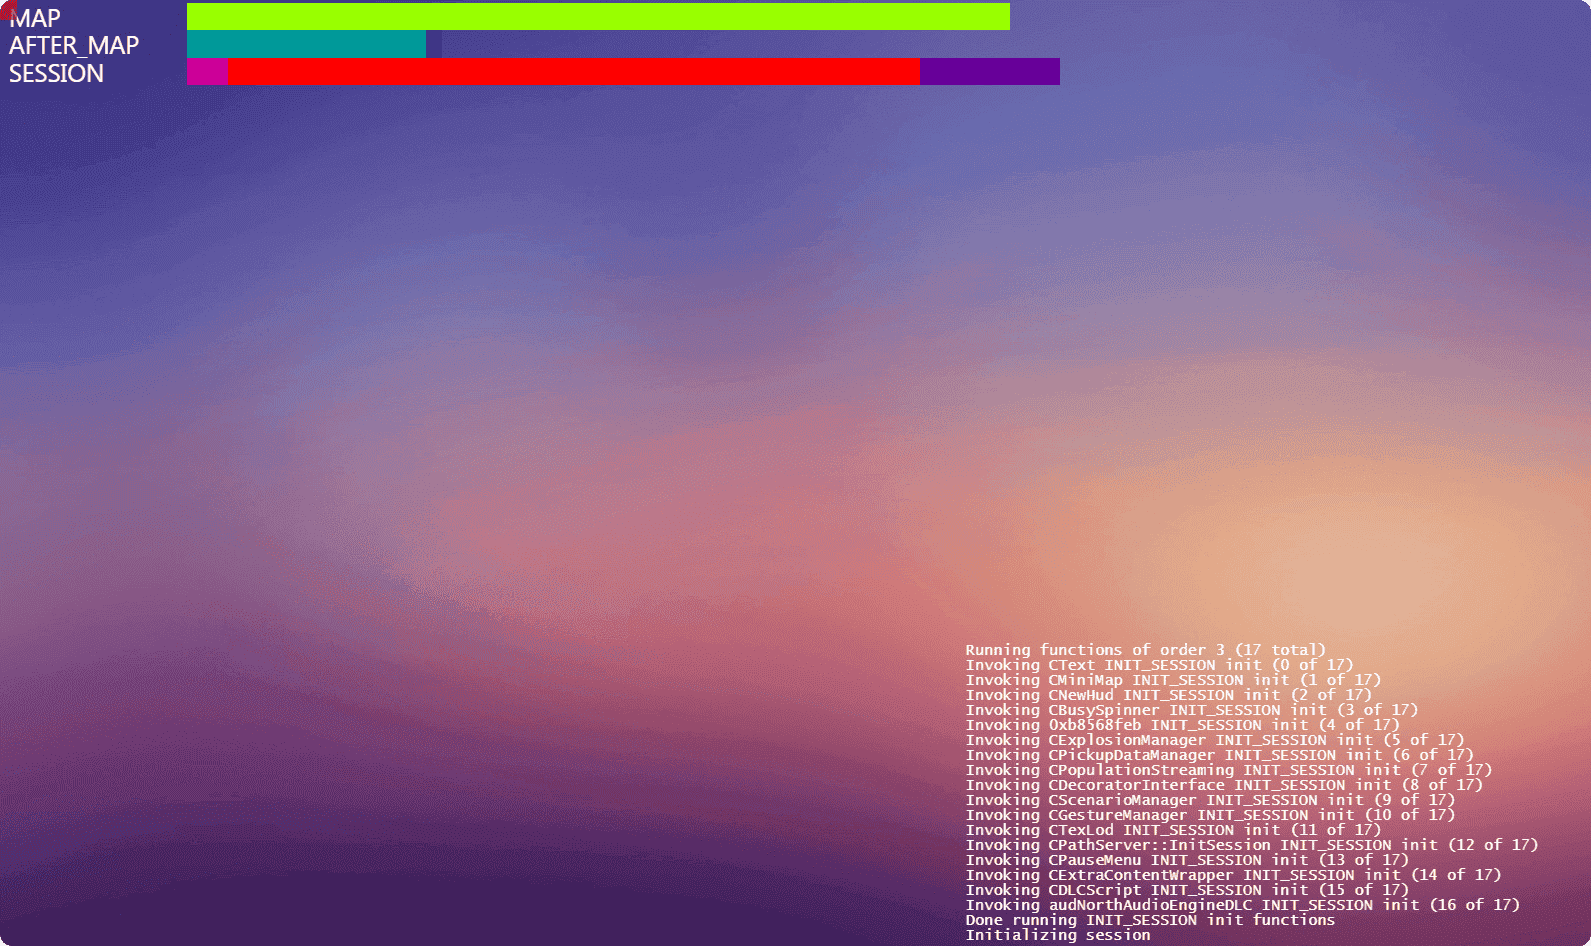
Once you have entered your license key into the RocketNode Panel, your ready to start up your FiveM server and join it for the first time!
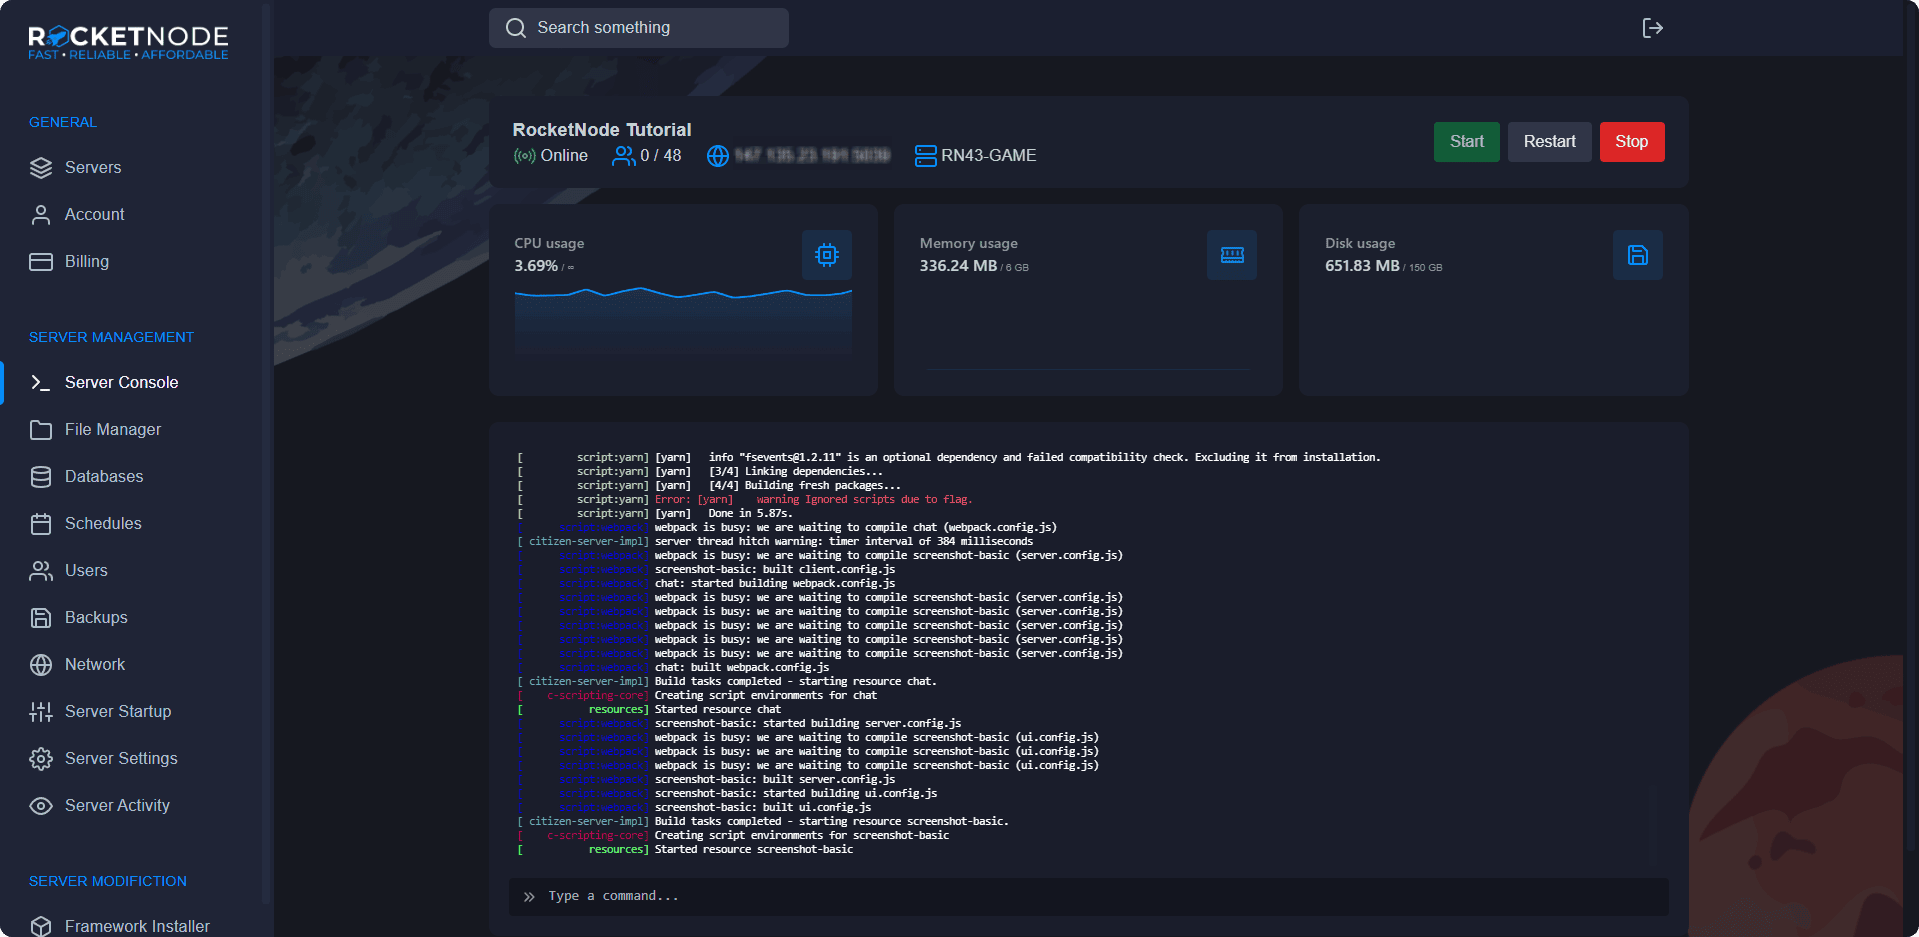
To get your FiveM's servers IP address, head over to the RocketNode Panel and view your FiveM server console. Your IP will be in the top box near your server's name.
To join your FiveM server, open the FiveM client and press F8. Type connect following by your server's IP address.
Configuring your FiveM Server
After connecting to your FiveM server for the first time, your ready to make the server yours! The basics of getting your server up in running include changing your server's name, editing your server's configuration, generating a Steam API key, adding administration users, setting up txAdmin, and much more.
Editing Server Configuration
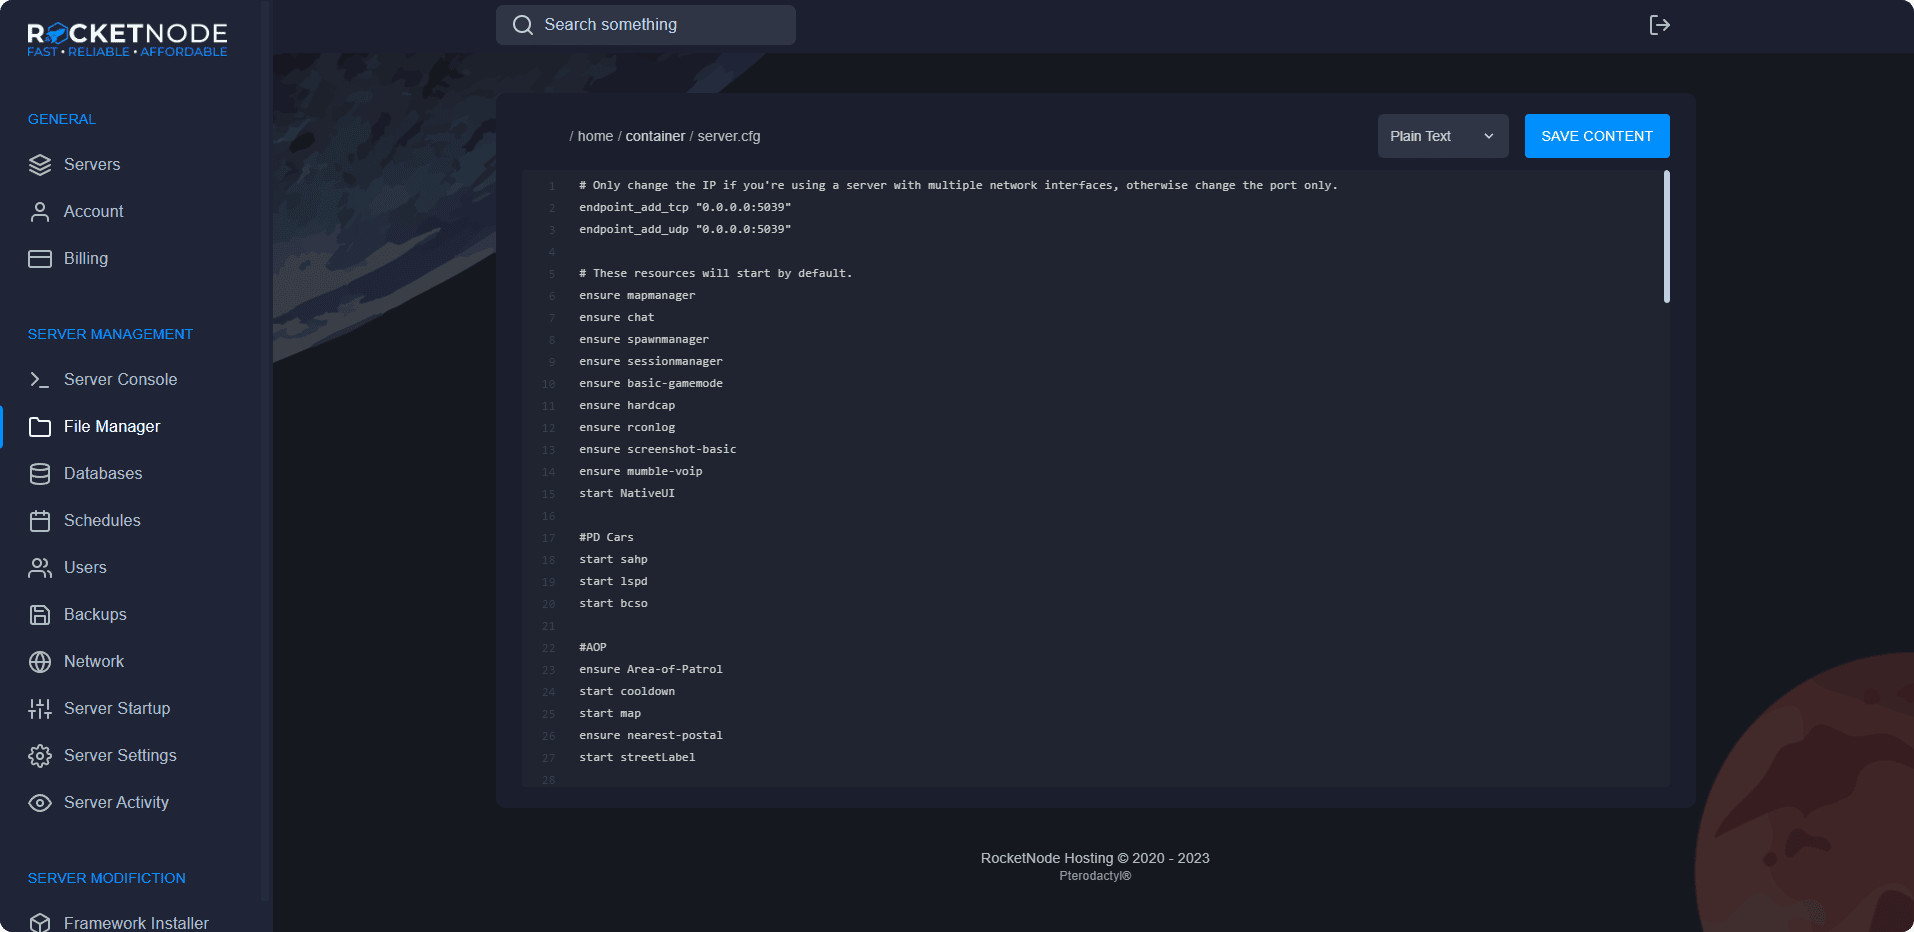
Many of your FiveM server's customization will be based aroung your server's configuration file, also known as it's server.cfg. Always download and keep a backup of this file before editing it, as this is the heart of your FiveM server's function. Before editing your FiveM server's configuration file, shut down your FiveM server to avoid issues. To edit your FiveM server's configuration file, open the RocketNode Panel and open the File Manager section. Click server.cfg. This will open the server's configuration file, allowing you to further customize your server.
Generating a Steam API Key
You may need to generate a Steam API Key if your using an economy based framework for your FiveM server, like ESX or QBCore. Generating a key is pretty simple, and takes no more than a few minutes.
- Login to the API Key site.
- Type in your server's name as the domain.
- Generate the key, and copy it.
- Go to your Server Startup settings in the RocketNode Panel and paste your newly generated key under Steam Web API Key.
Enabling TxAdmin
Using txAdmin makes managing your FiveM server a lot easier. It also allows your staff and development team to manage it seamlessly.
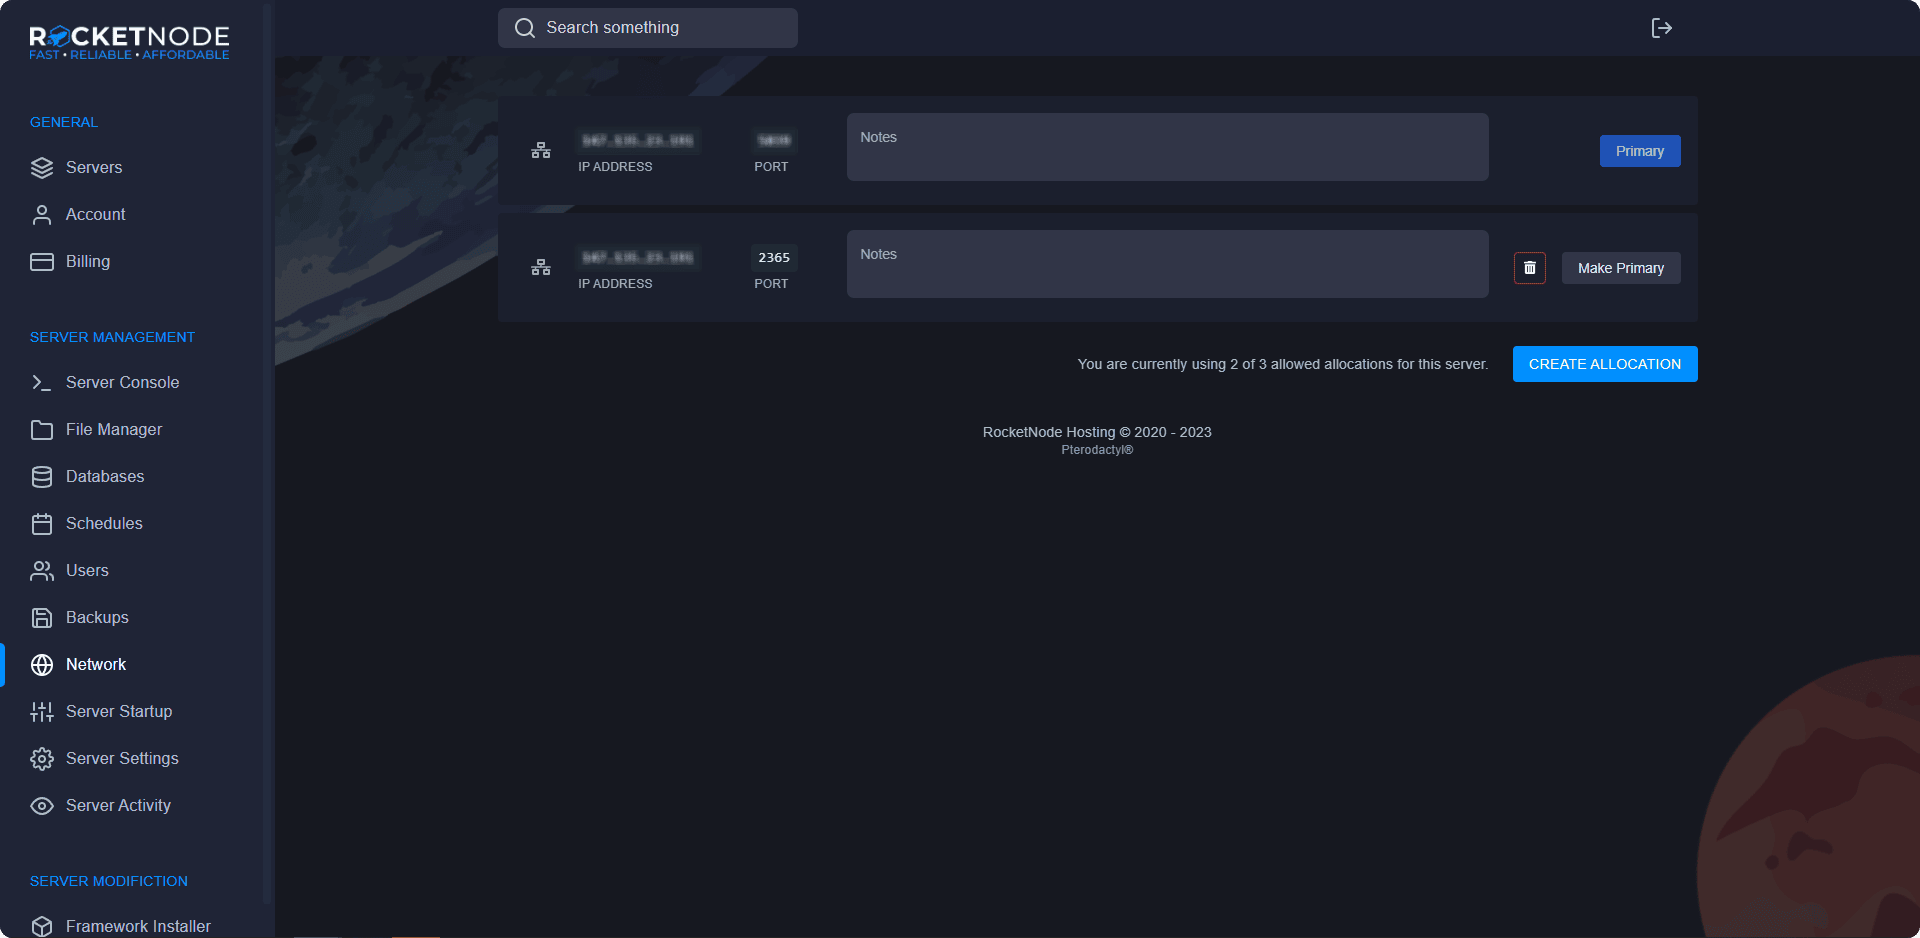
To enable txAdmin, you need to add another port to your server and turn it on.
- Go to the Network section in the RocketNode Panel.
- Click Create Allocation and note the numbers in the Port section of the allocation you just created. In this example, our port is 2365.
- Go to the Server Startup section in the RocketNode Panel.
- Click enable under the txAdmin variable.
- Restart your server.
- Click txAdmin under the txAdmin variable to access your web panel.
For first time access to txAdmin, you have to enter a PIN and link your CFX account.
- Open your Server Console section in the RocketNode Panel.
- In the console, it will say Use the PIN below to register. Use that on your txAdmin to verify ownership.
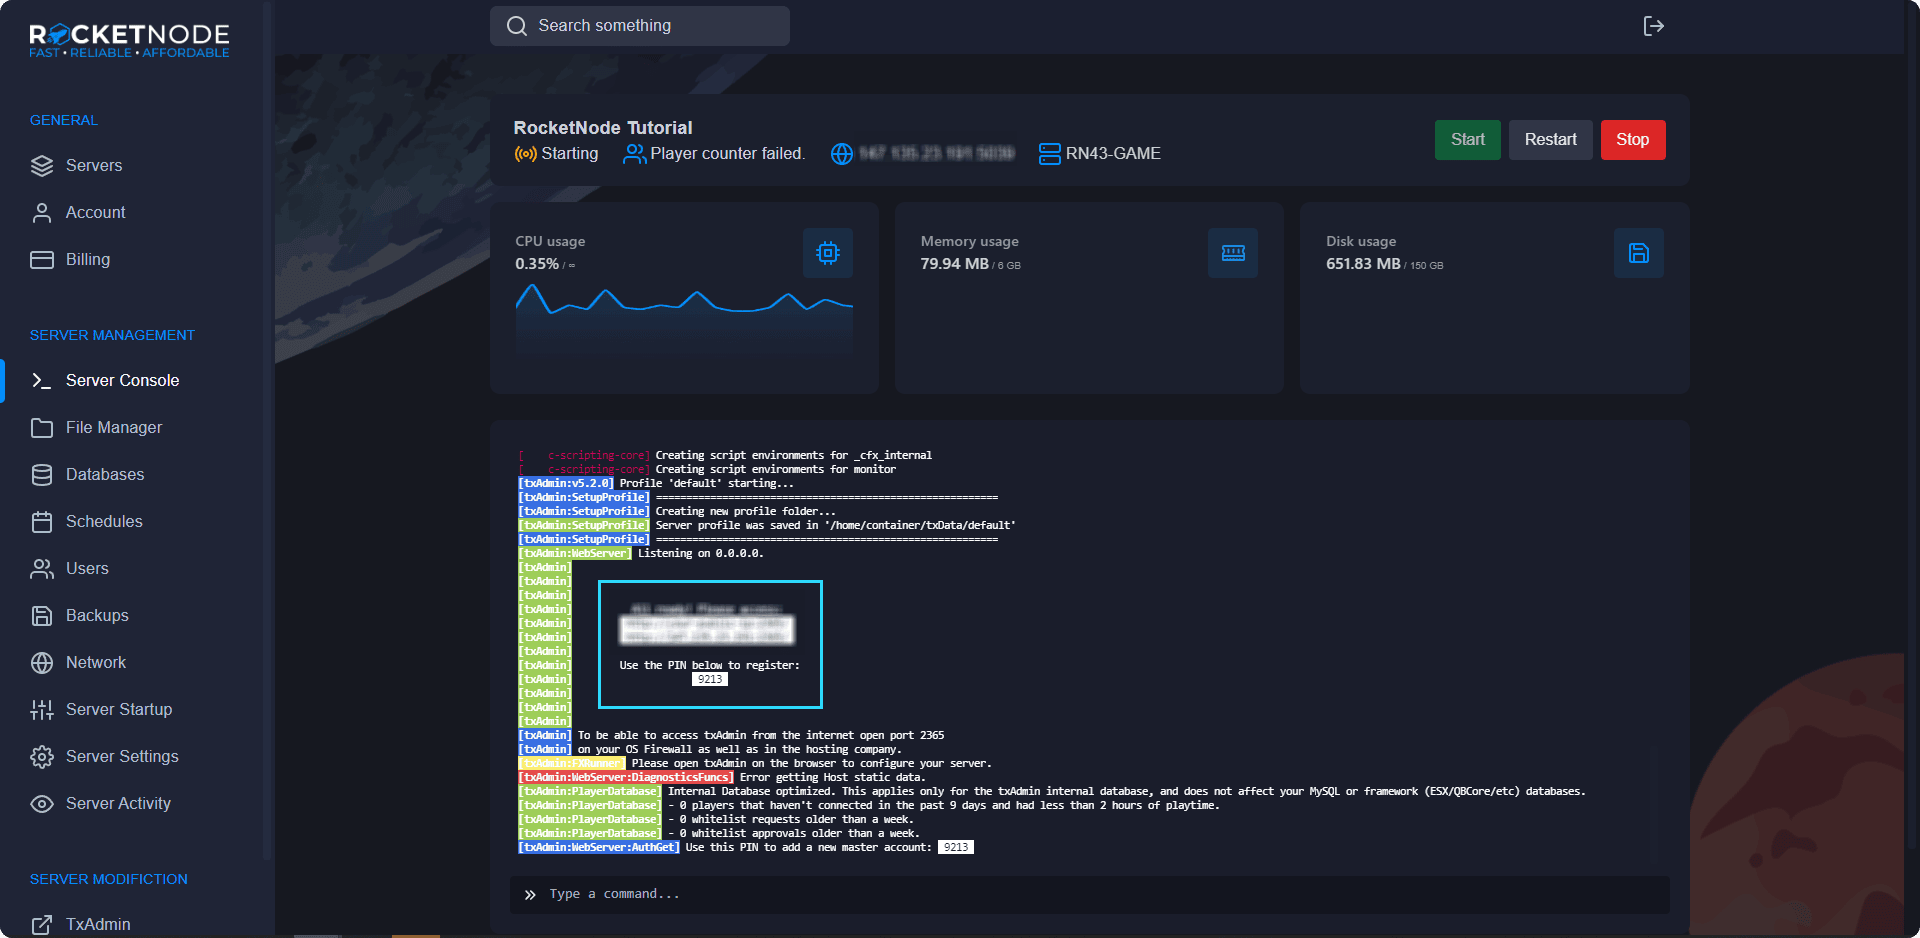
- Enter the PIN and click Link Account. You will have to login to your CFX account. Use the same one you used to get your FiveM License Key.
Adding Admin Users
Adding your team to your FiveM server to allow access to help you continue to grow your server is very important. Therefore, we made adding your team very simple!
- Head over to the RocketNode Panel.
- Open the Users section of the Panel.
- Press the New User button.
- Choose which permissions to assign to that user.
- Press the Invite User button. The invited user will receieve an email on how to access the RocketNode Panel.
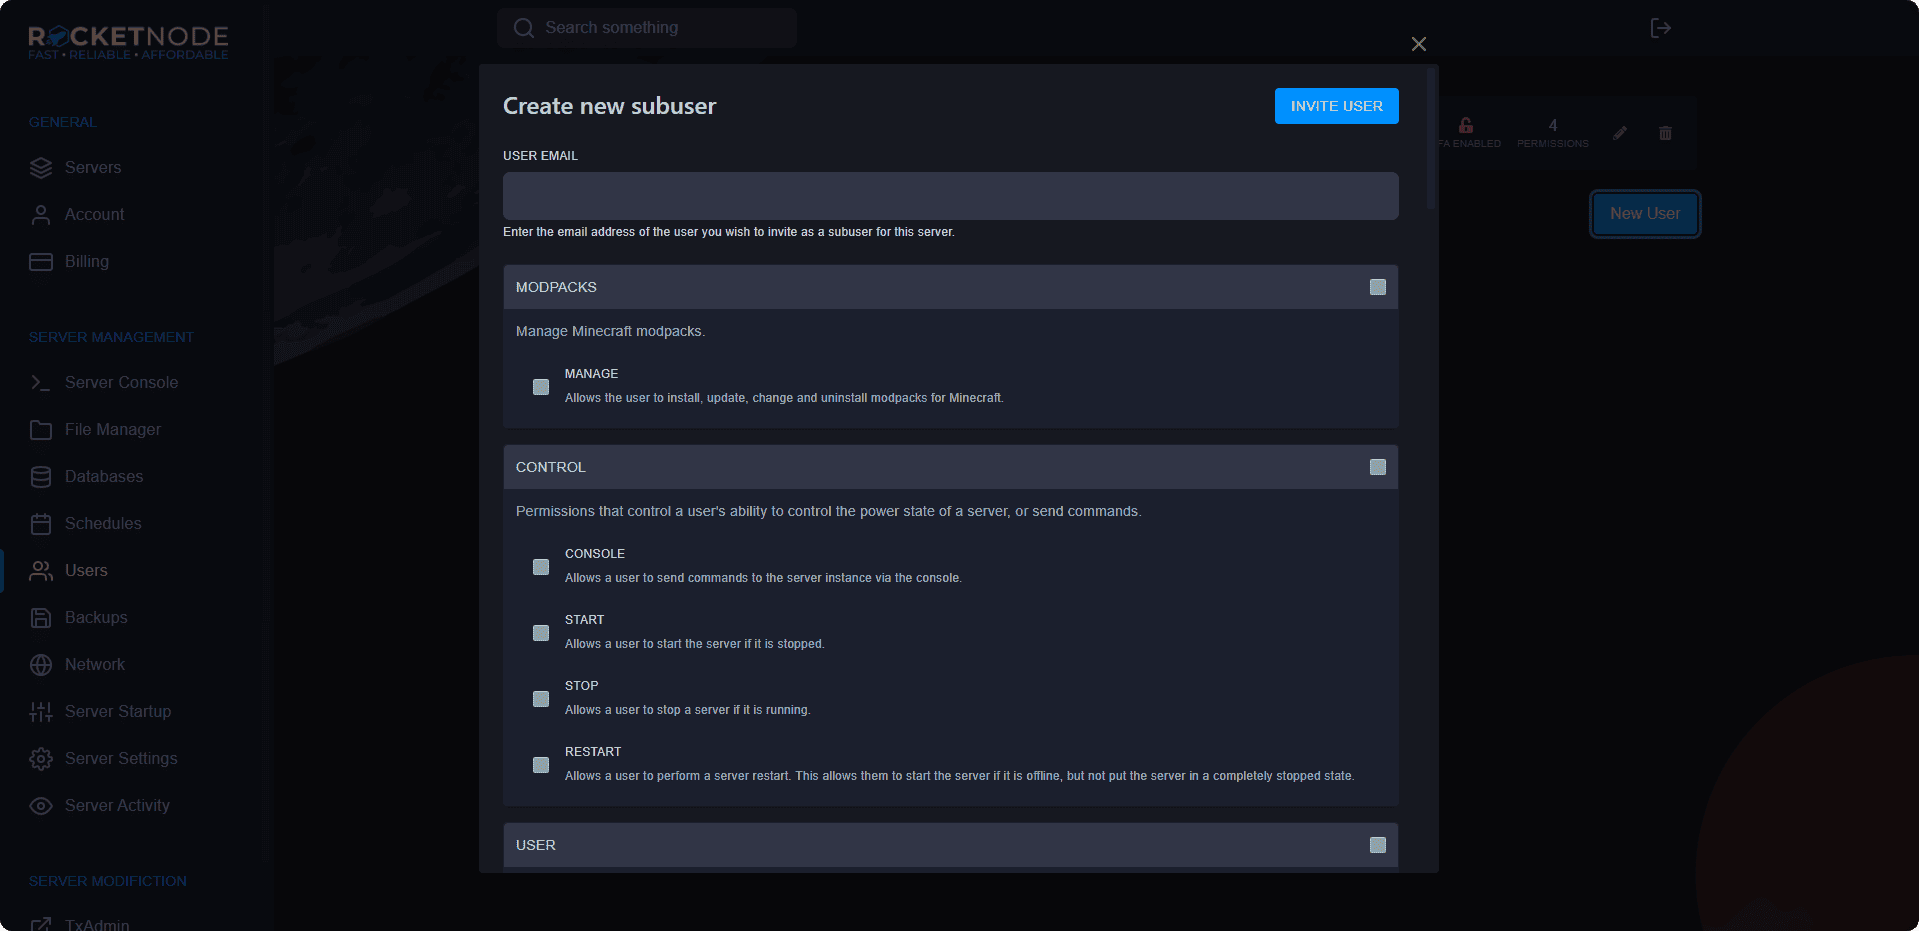
Selecting permission is important. Some of the different include changing settings, viewing logs, accessing and editing the database, changing startup configuration, changing the server status, accessing and editing files and much more. Choose permissions carefully.
Creating Server Backups
Creating regular backups is very important. Keeping backups allows you to revert back to a previous version of your FiveM server in case something happens, such as corrupt files, data loss, script errors, among other things. We recommend setting a regular schedule for backups.
Creating a backup is fairly simple and takes a few seconds.
- Head over to the RocketNode Panel.
- Open the Backups section of the Panel.
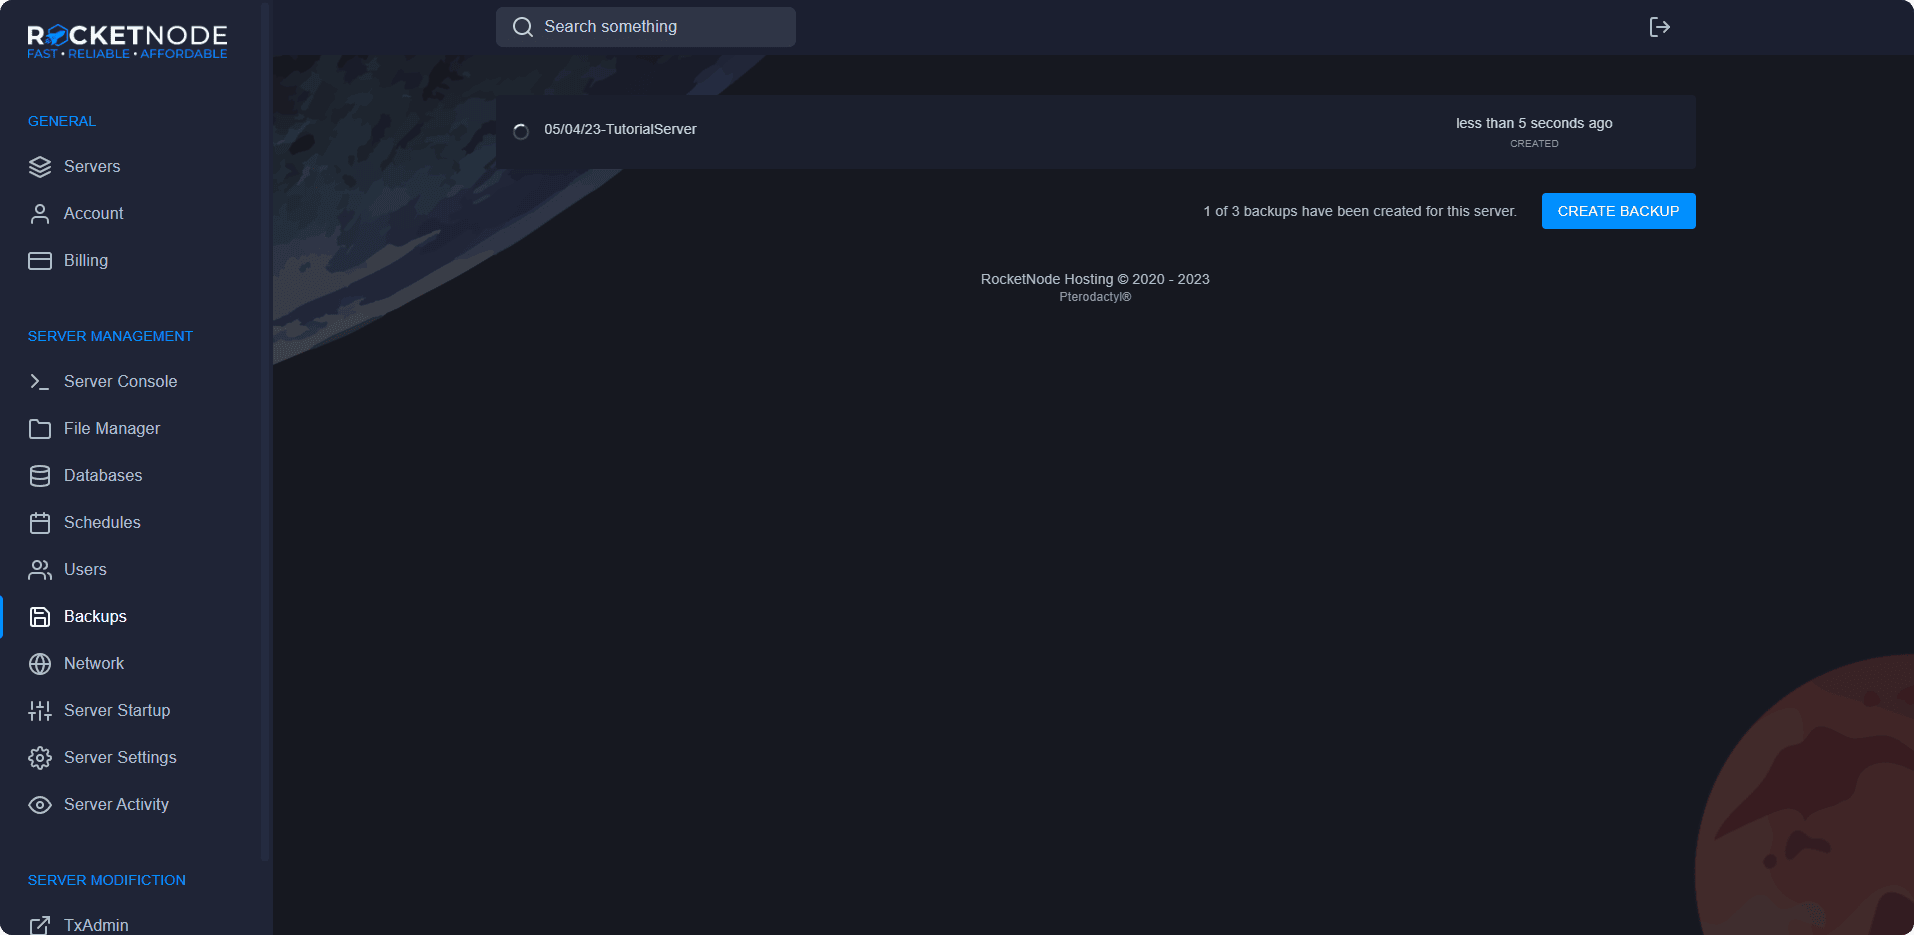
- Press the Create Backup button.
- Give the backup a name, We recommend the date your backing up the server on, and the name of your server.
- You can leave the Ignored Files & Directories blank, unless their is a file you don't want to include in the backup.
- You can select the Locked option, to prevent accidental deletion of your backup.
- Press the Start Backup button.
- You will now see the backup, as shown below in our example.
Reinstall Server
Reinstalling your server may be required if you want to redo your FiveM server and need a base configuration. But, please note that this may delete your files, so please backup your data before reinstalling.
- Head over to the RocketNode Panel.
- Open the Server Settings section of the Panel.
- Press the Reinstall Server button.
- Press the Yes, reinstall server button once you are sure you would like to continue.
- Your server will now reinstall to it's original state
Schedules
You can allow your server to automatically schedule certain tasks, such as, restarting your FiveM server, automatically creating backups, and sending commands to the console. Creating a schedule is fairly simple.
- Head over to the RocketNode Panel.
- Open the Schedules section of the Panel.
- Press the Create Schedule button.
- Give the schedule a name, describing what it is.
- Select the times you would like the tasks to run. Use the cheatsheet for information on time setting. For example, putting a 0 in the minute and hour section will run the schedule once a day.

- Once you create the schedule, you need to add some tasks to it. Press the New Task button to add tasks to run on the schedule.
- In the action dropdown box, you can set it to run commands, send a power action, or create a backup.
With a FiveM server, the only two schedules recommended are backups and restarts.
To create a backup task, follow these few steps.
- Press the New Task button.
- Select Create Backup in the action dropdown, and press Create Task.
To create a automatic restart task, follow these steps.
- Press the New Task button.
- Select Send power action in the action dropdown.
- In the payload, select Restart the server.
- Press the Create Task button.
RocketNode's Framework Installer
Here at RocketNode, our team has spent a lot of time developing our services, making our FiveM panel one of the most efficient services in the industry. One of our leading benefits of our FiveM panel is our custom Framework Installer. This allows you to get a server up and running, ready in minutes! With a custom built FiveM server, including a basic setup to get playing. Included in our custom Framework Installer are ready-to-go templates of the 3 main types of FiveM server frameworks.
- FiveM ESX Framework ESX is the leading framework for creating roleplay servers on FiveM, with many official and community resources designed to utilise the tools provided here. For a taste of what's available. Many more resources are included in this repository, or you can browse the ESX Community Github or Cfx.re Releases board for more.
- FiveM QBCore Framework QBCore offers an ESX alternative framework for creating economy based roleplay servers on FiveM, with many ESX releases being forked for the QBCore framework, it allows a flawless user experience while being smoother and more easily customizable then ESX.
- FiveM VMenu Framework The VMENU Premade offers a great DOJ based roleplay experience with everything from, custom cars, spawning menus, to staff permissions. This has all you need for a successful DOJRP community.
{{< css.inline >}}
<style> .canon { background: white; width: 100%; height: auto; } </style>{{< /css.inline >}}
