

How to Install and Setup GeyserMC
Introduction
GeyserMC is an incredible plugin that enables players using Minecraft Java Edition to connect to Minecraft Bedrock Edition servers. It acts as a bridge between the two versions, allowing seamless cross-platform gameplay. With GeyserMC, you can bring together players from different Minecraft editions and create a unified multiplayer experience.
This tutorial will walk you through the steps to install and set up GeyserMC on your Minecraft server, enabling Java Edition players to join and interact with Bedrock Edition players effortlessly.
Prerequisites
Before you begin, ensure that you have the following:
- A Minecraft server from RocketNode
- Administrative access to the server's file system.
Downloading GeyserMC
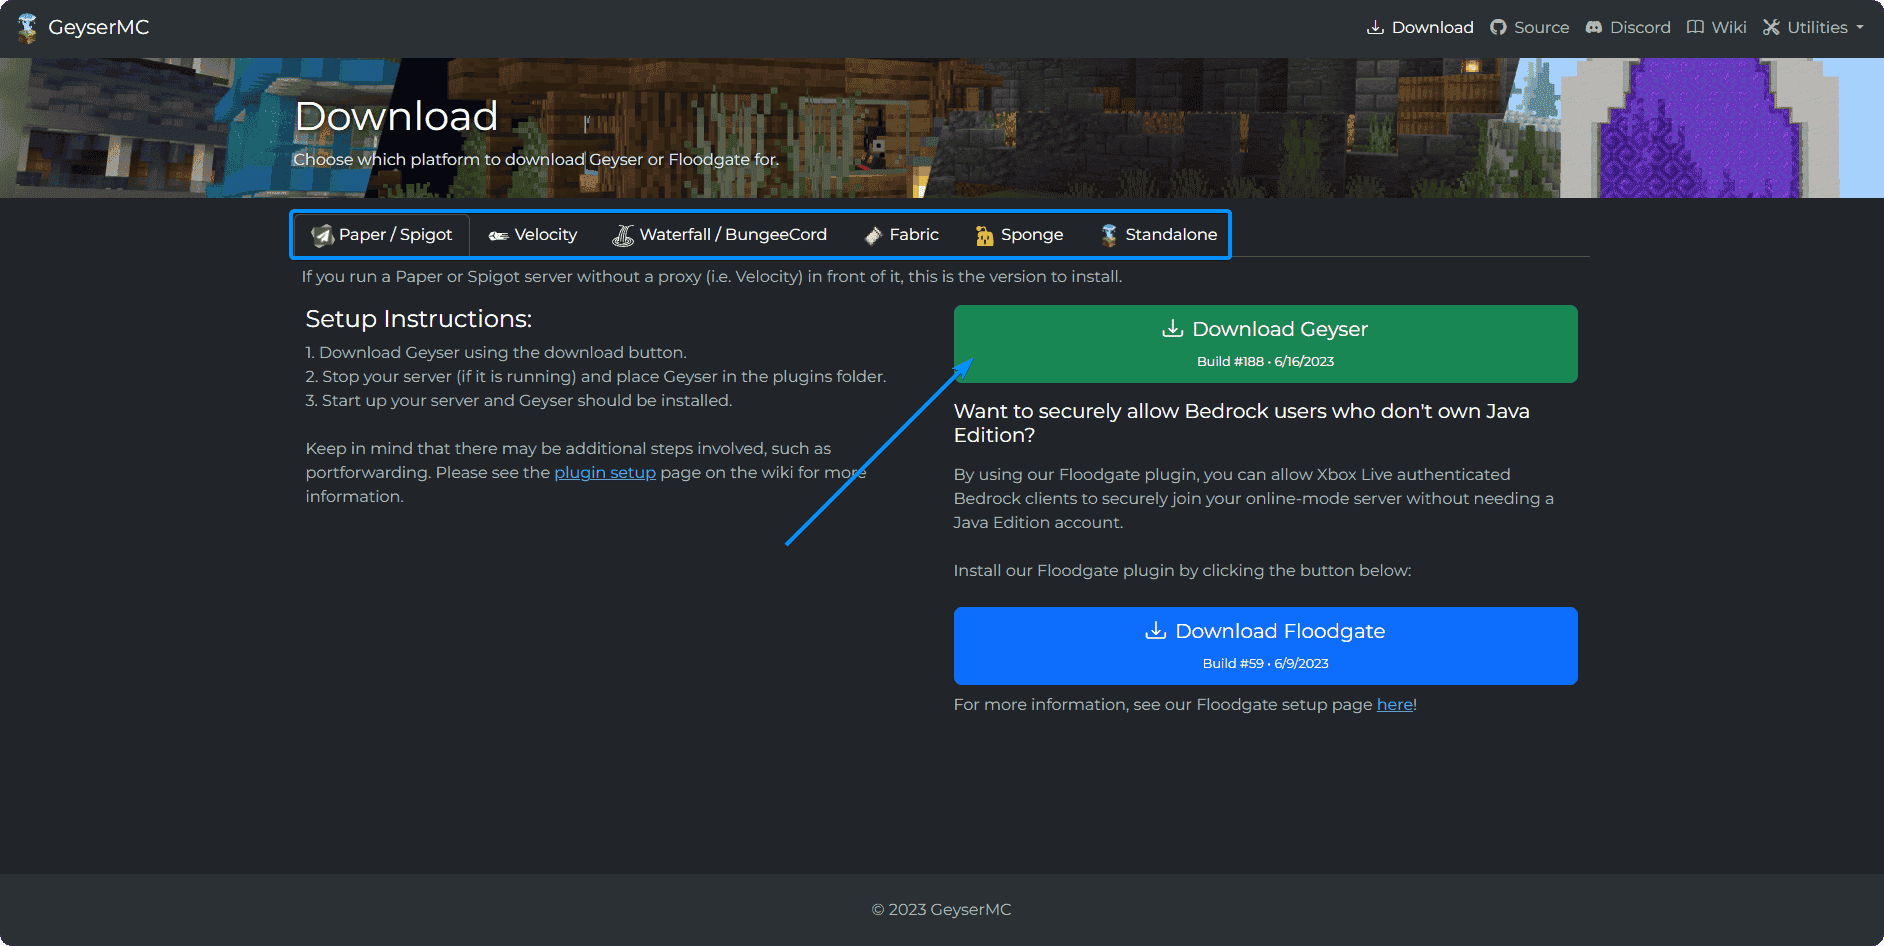
- Access the GeyserMC website in your web browser.
- Navigate to the "Download" section of the website.
- Choose the appropriate version of GeyserMC for your server's Minecraft version.
- Click on the download link to save the GeyserMC JAR file to your computer.
Installing GeyserMC
- Connect to your Minecraft server via FTP or navigate over to our panel.
- Locate the server's plugins directory.
- Upload the GeyserMC.jar file to the plugins directory.
Configuring GeyserMC
- Start or restart your Minecraft server.
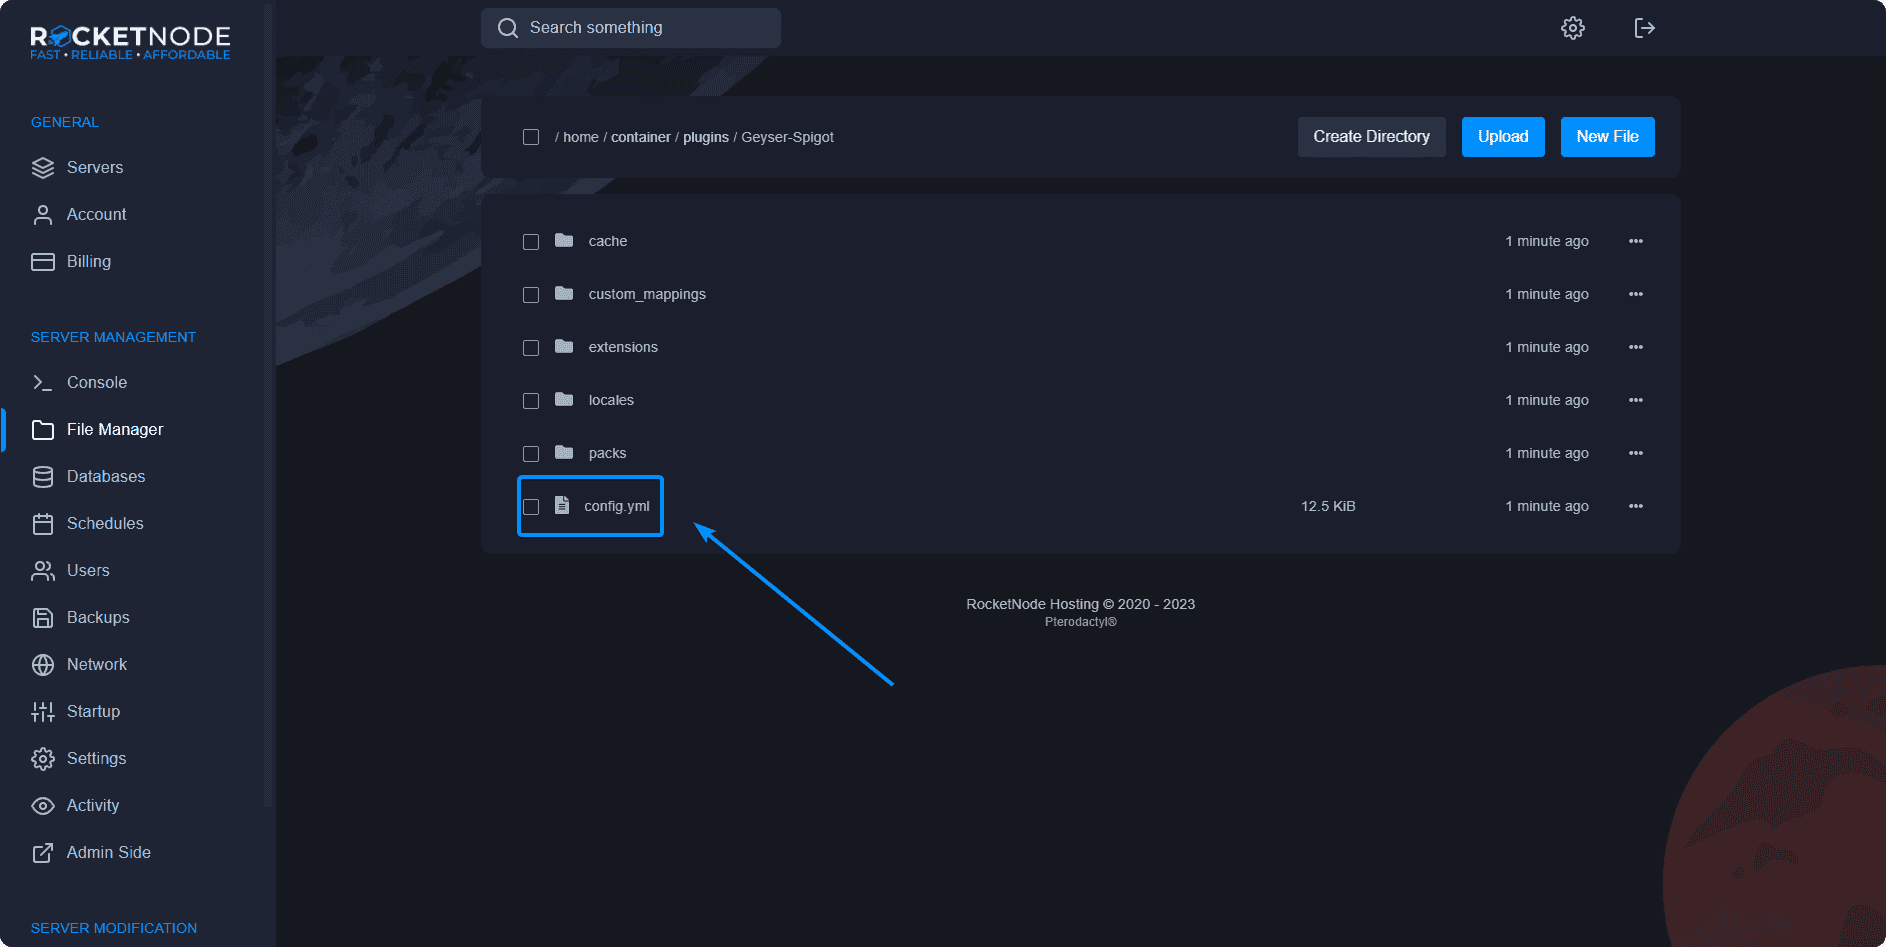
- Once the server has started, locate the newly created
config.ymlfile in the GeyserMC folder within the plugins directory. - Open the
config.ymlfile by clicking on it.
The config.yml file contains various settings that you can modify to customize GeyserMC according to your preferences. Here are a few important options:
-
portsection: You will have to change this option to match the additional allocation under your Network tab.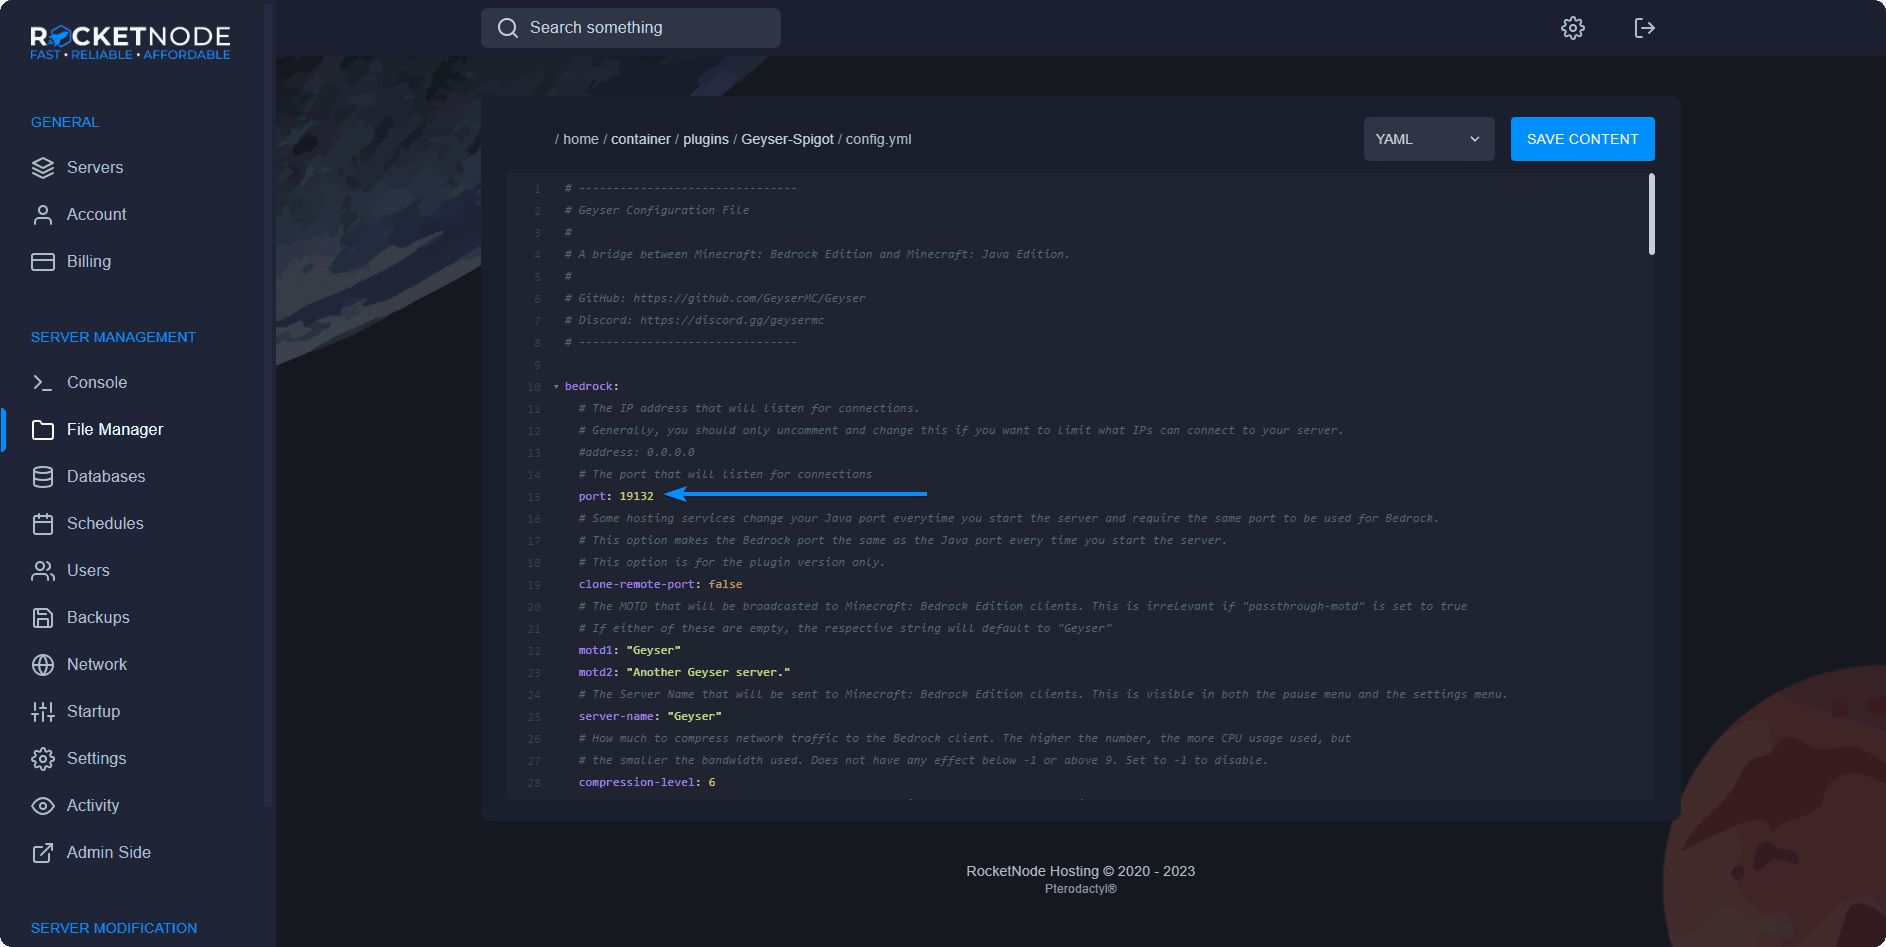
-
remotesection: Configure the IP address and port of your Bedrock Edition server. -
motdsection: Customize the message of the day displayed to players. -
player-authenticationsection: Enable or disable authentication requirements for Bedrock Edition players. -
ping-passthroughsection: Enable or disable showing Java Edition players in the server list of Bedrock Edition clients.
- Make the desired changes to the
config.ymlfile, ensuring the syntax is correct. - Save the
config.ymlfile.
Starting the Server
- Restart your Minecraft server to apply the GeyserMC configuration changes.
- Once the server has restarted, GeyserMC will be active and ready to accept connections from Minecraft Java Edition players.
Connecting with Minecraft Java Edition
- Launch Minecraft Java Edition on your computer.
- Click on "Multiplayer" in the main menu.
- Click "Add Server" or "Direct Connect," depending on your preference.
- Enter the server address and port of your GeyserMC-enabled server.
- Click "Join Server" to connect to the server.
Now, Minecraft Java Edition players can connect to your GeyserMC-enabled server and interact with Minecraft Bedrock Edition players seamlessly.
Conclusion
By following the steps outlined in this tutorial, you have successfully installed and set up GeyserMC, allowing Minecraft Java Edition players to connect to Minecraft Bedrock Edition servers. Enjoy the unified multiplayer experience and bring together players from different Minecraft editions.
