FiveMless than a minute read
How to Add Custom Peds to FiveM Server
Learn how to add custom peds to your FiveM server by uploading the ped resource, adding an ensure line to server.cfg, and spawning them with vMenu.

How to Add Custom Peds to FiveM Server
Learning how to add custom peds to FiveM server environments is a great way to give your RP servers a unique look in GTA V. Custom peds can replace a character model or work as add-on peds, and once the resource loads, players can spawn them from the menu in-game.
Adding Peds
-
Download a ped pack and extract the files locally.
-
Access the RocketNode Panel.
-
Stop the server.
-
Go to the Files tab.
-
Navigate to the following directory:
txData/<your server folder>.base/resources -
Click Create Directory.
-
Name it
[peds].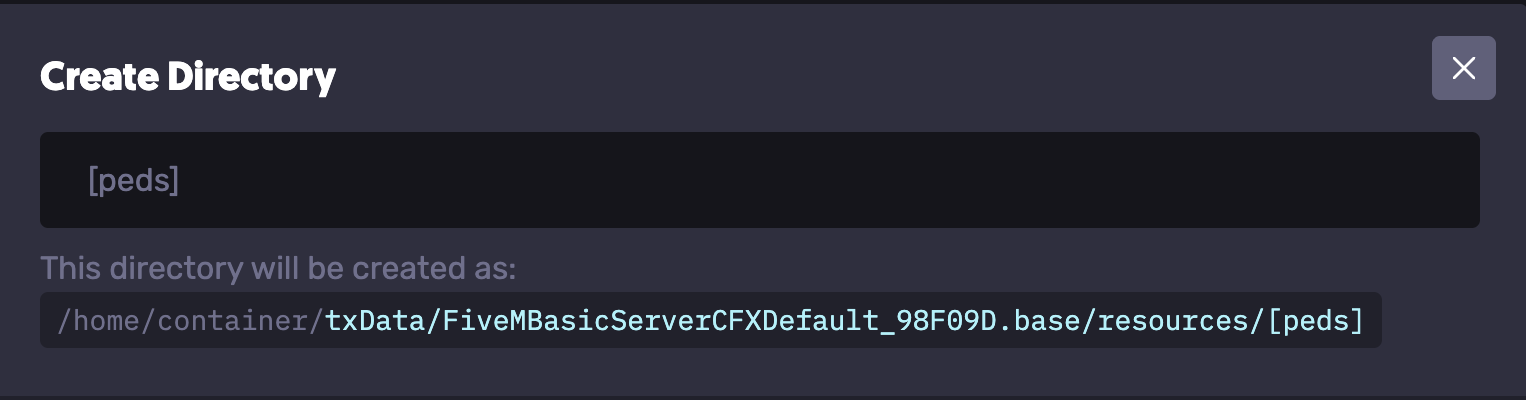
-
Inside the created folder, upload the ped folder.
-
Head back to the .base folder.
-
Open the
server.cfgfile. -
Add a
#pedscomment, then add anensure <Ped Folder>line under it. For example, if the folder is named custom_ped, it should look like the following:# peds ensure custom_ped -
Click Save Content.
-
Start the server.
Spawning the Ped With vMenu
-
Access the RocketNode Panel.
-
Stop the server.
-
Go to the Files tab.
-
Navigate to the following directory:
resources/[apollo]/vMenu/config -
Open the
addons.jsonfile. -
Add the ped's model name to the peds list, as shown in the example below:
{ "peds": [ "custom_ped" ] } -
Click Save Content.
-
Start the server.
Find out more about FiveM server hosting with the help of our Knowledgebase articles that can be found here. For any questions please contact the support team via Discord or on-site Tickets.